The long-overdue fifth installment of my Build Something Contest blog posts! This one takes us from the end of Part Four, where we had the start of detail panels, no wings yet, and the cargo bay just primed.
Per BSC rules I can’t share WIP or finished painted photos yet, so there’s still going to be gaps in this build log. I have a bunch of WIP paint photos taken and will share them when the contest has begun.
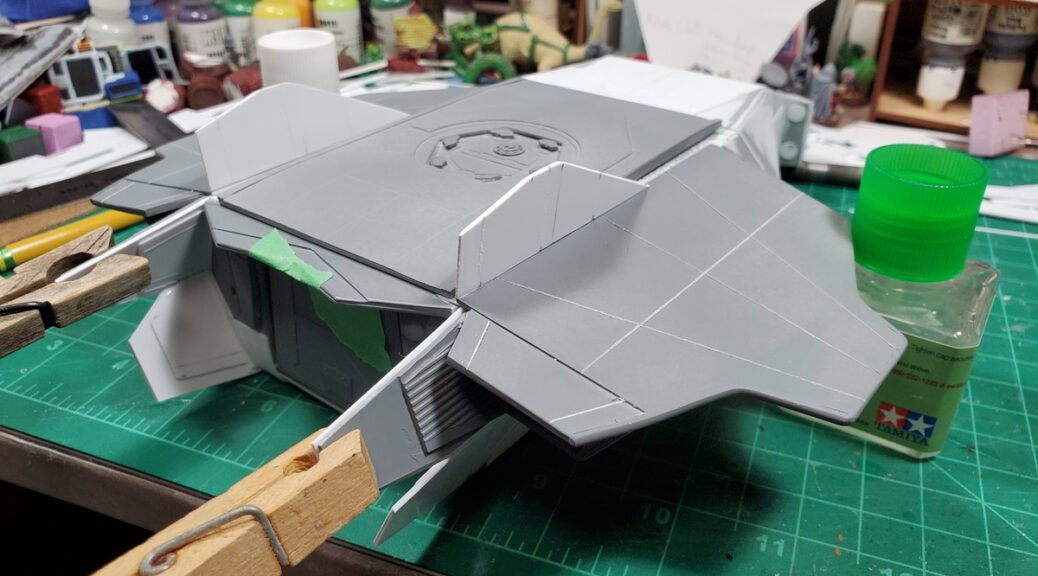
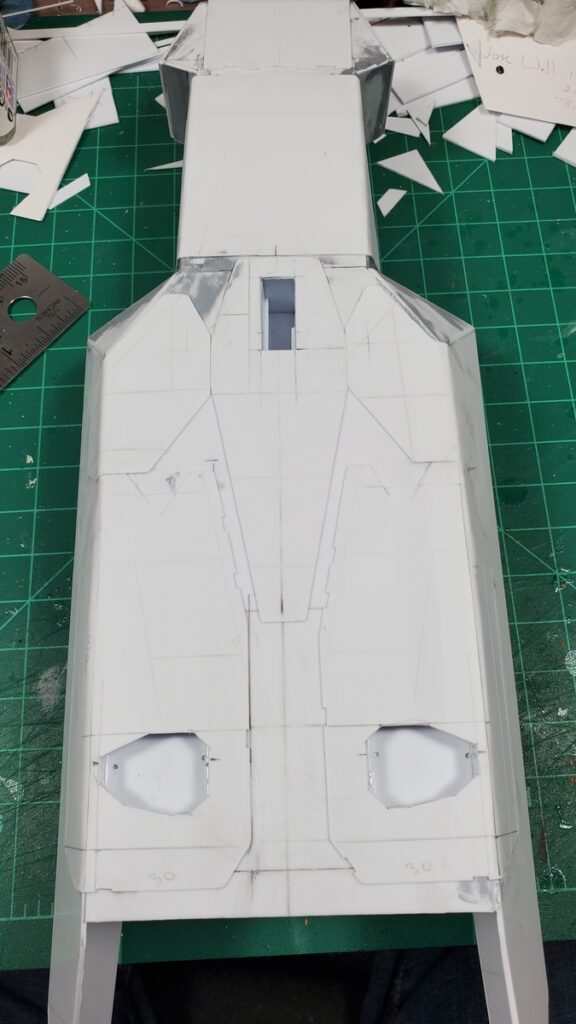
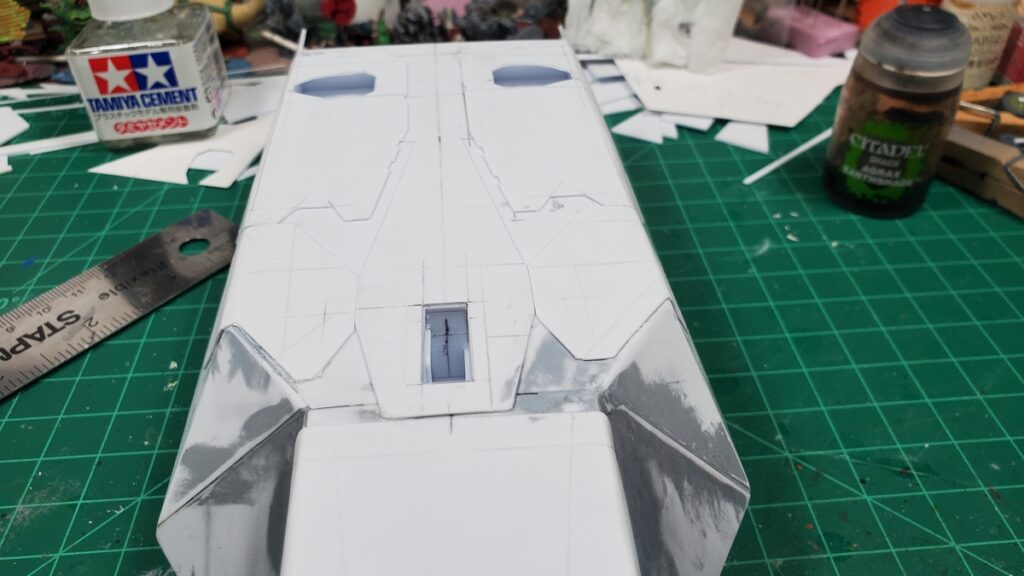
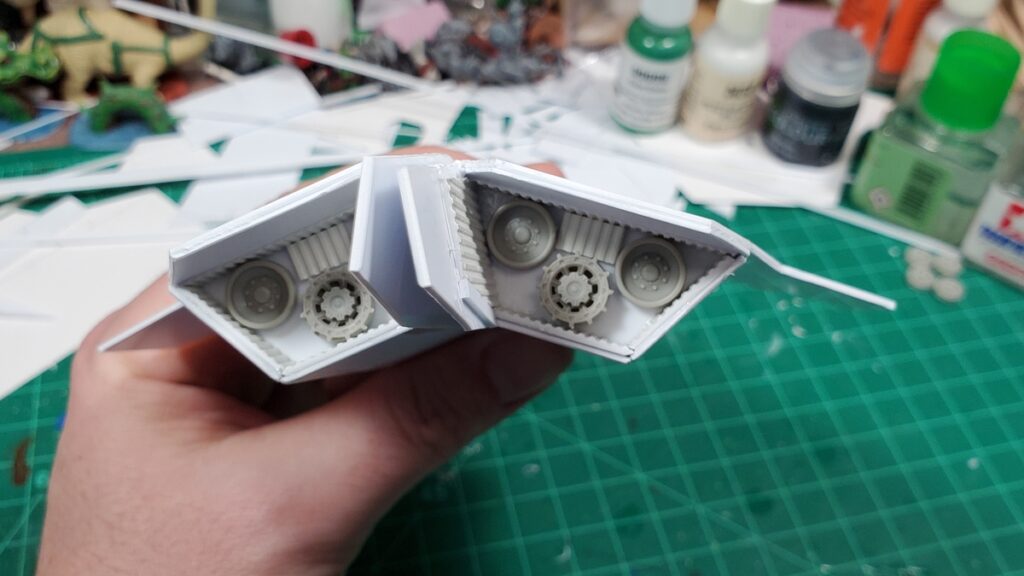
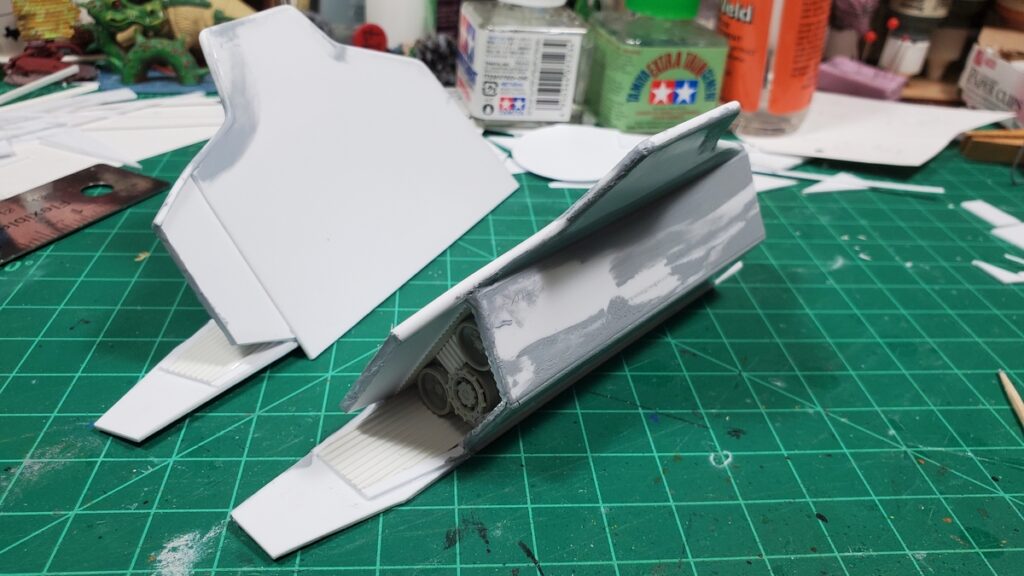
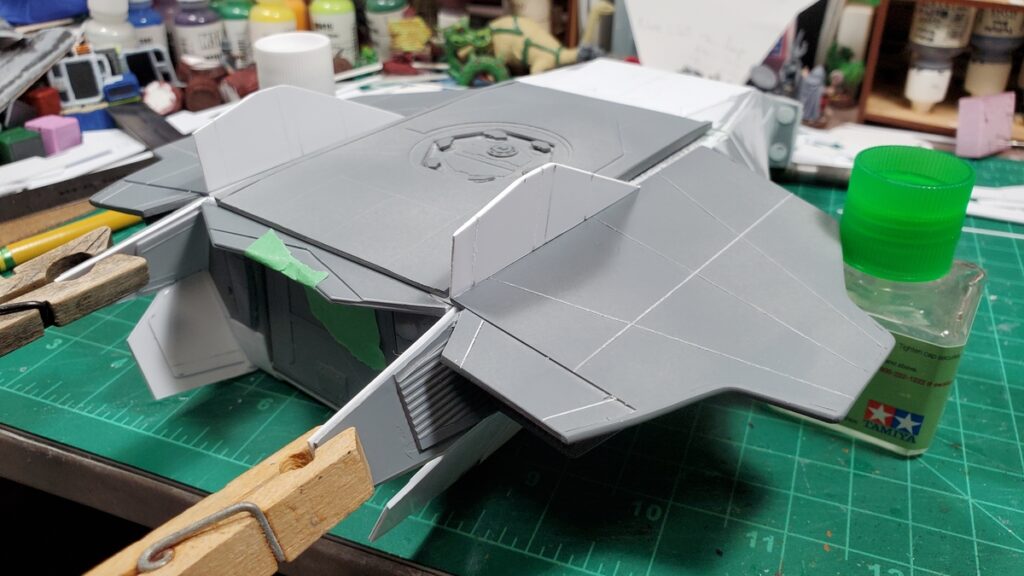
Feb 22 – the underside gets detail panels.Feb 22 – underside detail panels, looking aft.22 Feb – the engine pod assembly begins.22 Feb – layout of the two wings on 1mm styrene sheet.22 Feb – engine and wing subassembly taped in place on the fuselage.22 Feb – wings taped to fuselage.22 Feb – wings temporarily mounted to fuselage, overhead view.24 Feb – wings and engine pod details.. Front view, showing the intake grilles.24 Feb – wing and engine subassembly, rear view with jet/rocket nozzles.24 Feb – another view of the rear of the engine pods.2 March – putty work on the engines and wings.3 March – putty and test fit of roof and wings on the fuselage.3 March – decal sheets assembled. There are almost three dozen decals in the cargo bay and another twenty or so on the outside of the finished shuttle.9 March – final test fit of the wing/engine subassemblies9 March – the wings get the vertical stabilizers added.9 March – rear ramp view with detail panels on the insides of the rear fuselage extensions.9 March – the wings finally get glued on! Major construction is finished, on to priming and painting!
Along the way while finishing the shuttle, I built a 12″x12″ landing pad as a photo prop and gaming scenery, a small ‘drone’ using some of the LeClerc MBT parts that hadn’t be used in the shuttle build, and a 6″ tall sensor tower that used up a bunch of the offcut styrene from the shuttle that was too interesting to just throw away. I’ll share photos of them in another post.