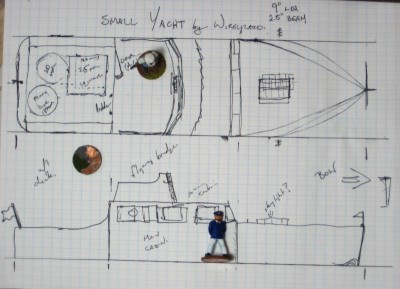
Part One is here, for those of you just joining in. The project is a small 28mm motor yacht for pulp gaming, based loosely on real motor yachts from early in the 20th C and built entirely out of styrene plastic sheet, because I have a lot of it hanging around!
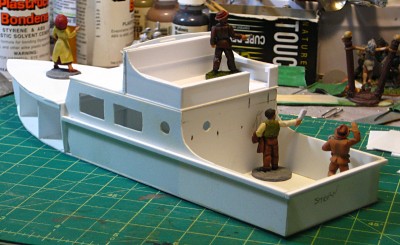
I finally got the hull sides done this weekend, using one long strip of .020″ styrene plastic per side. To accommodate the slight rake of the hull side and the curve of the bow, I cut the strips slightly too wide and wider toward the bow of the boat. After gluing one side at a time, I trimmed the thin plastic down with knife and sandpaper to match the actual lines of the boat.
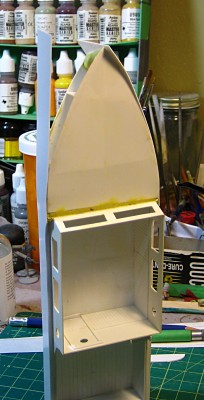
The stern and cabin area was simpler, except for being careful where the curve was placed that fits the higher bow deck into the hull side. Initial glue was quick-acting Plastruct Bondene solvent; after that set up I used superglue along the bottom seam to strengthen it.
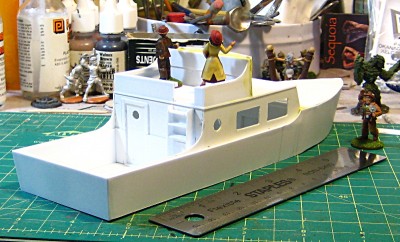
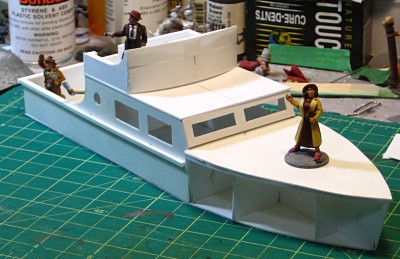
I’ve also gotten panelling into the cabin (see the first photo), door frames on either side of the door at the rear of the cabin, and started in on the ladder up to the flying bridge on the cabin roof.
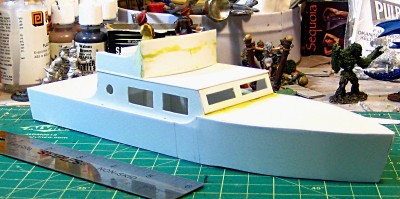
There’s a large amount of cleanup and detailing needed with Milliput and modelling putty to get everything cleaned up and smoothed out, a bunch more details to add, then the first spraycoat of primer to show up any glitches and things that still need to be fixed. The cabin roof needs some weight on it to get it to sit properly on the cabin walls; the seams all need cleaning up, especially around the bow deck and the bow itself; and I might yet put another layer of styrene down on the bow deck, as the single layer there currently is quite thin and I worry about it standing up to the wear and tear of gaming and transport.
Still, it’s great to have the major structural parts of the boat complete!