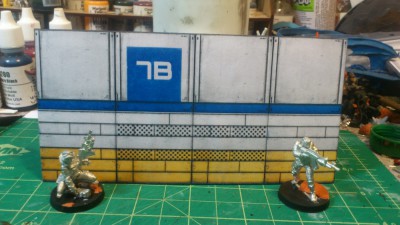
One of the goals with the space station terrain set was to make the whole thing look like not just a collection of tactically interesting obstacles but also a (relatively) sensible, lived-in/working facility. Right now the non-cargo bay area is a bit plain, really just the Impudent Mortal walls in my collection arranged in various ways. I did up some lockers recently to add colour and interesting cover, and now I’ve found a really simple way to do food booths or other fairly small terrain pieces.
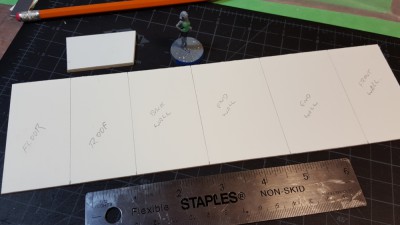
Start with a strip of card 3″ wide and at least 11″ long, or multiple 3″ wide pieces making up roughly the same length. I use 1/16″ mattboard, the stuff used by picture framers, but for this project you could use just about anything. There’s only one measurement in the whole thing that depends on the thickness of the material being used (the height of the front wall of the booth) and that’s easily adjustable or even avoidable if you tweak the design a bit.
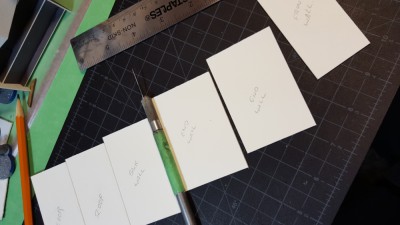
You’re cutting as follows:
- 1″ wide for the under-floor brace/foot. Cut this piece in half again.
- 1 1/2″ floor
- 1 1/2″ roof
- 1 3/4″ back wall
- 1 9/16″ front wall (NOTE)
- 2″ end wall
- 2″ end wall
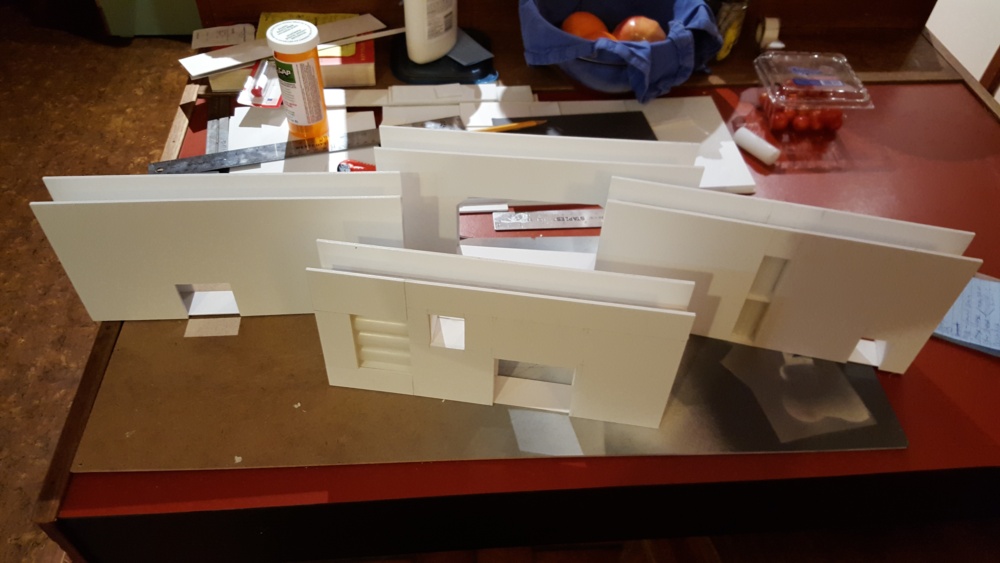
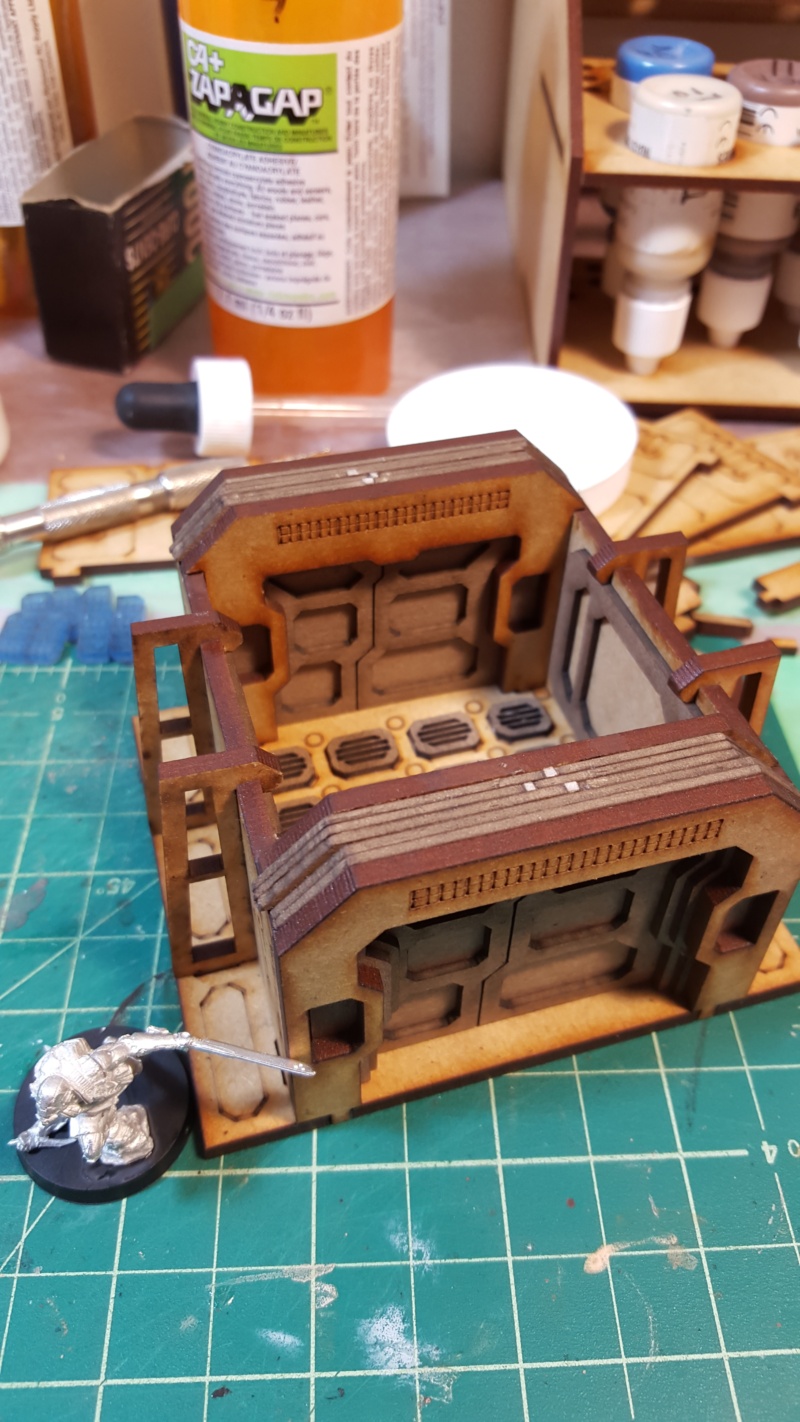
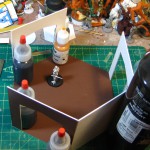
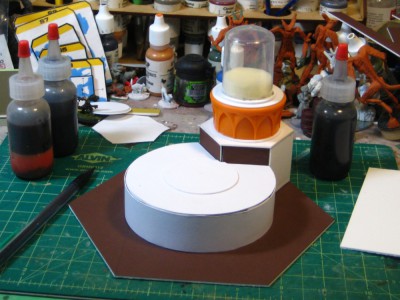
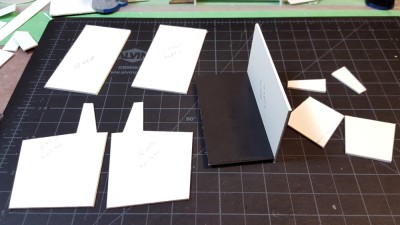
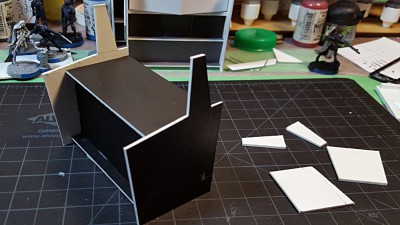
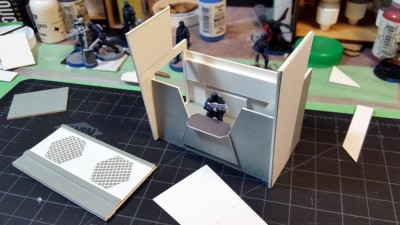
Start by gluing the two foot pieces to the underside of the floor. Centre it under the floor — exact placement isn’t important, they just exist to lift the front edge of the booth above ground level and add a bit of visual interest. Note that in the layout photo below, I forgot to allow for the foot pieces, as I’m using that scrap of 1/8″ foamed PVC plastic above the card strip instead.
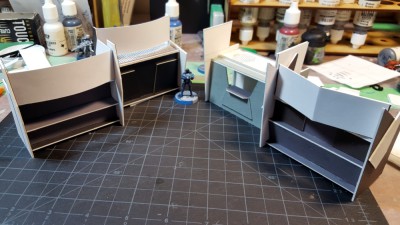
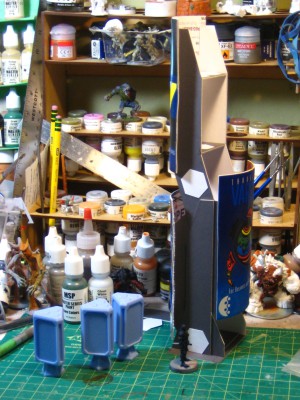
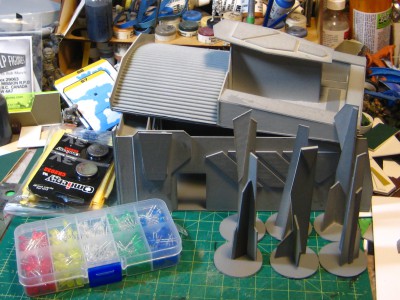
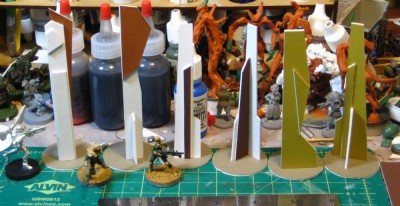
While that dries a bit, cut the two end walls some more to make them interesting. They stand vertically, and you can see from the photos that I’ve cut each in a different way to add variety and provide support for the booth’s large overhead sign(s). You don’t need to get fancy, just a couple of angled cuts can do nicely, especially if you re-use the offcut pieces again as I’ve done on several of the roofs in my set.
Glue the back wall to the back of the floor, with the bottom edge of it resting on the ground. Use the end walls to make sure the back wall is vertical and square, then glue them on, again with the bottom edges resting on the ground.
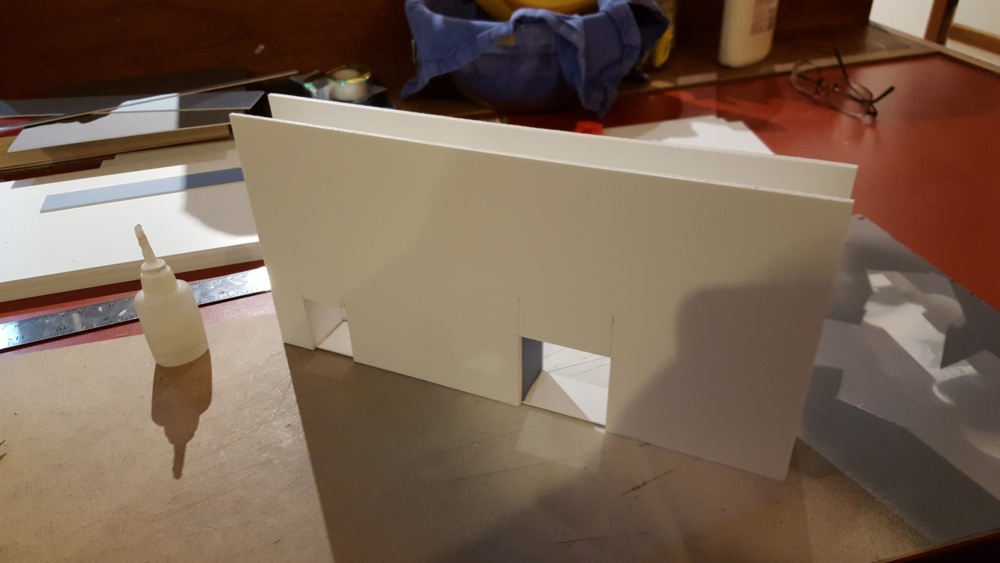
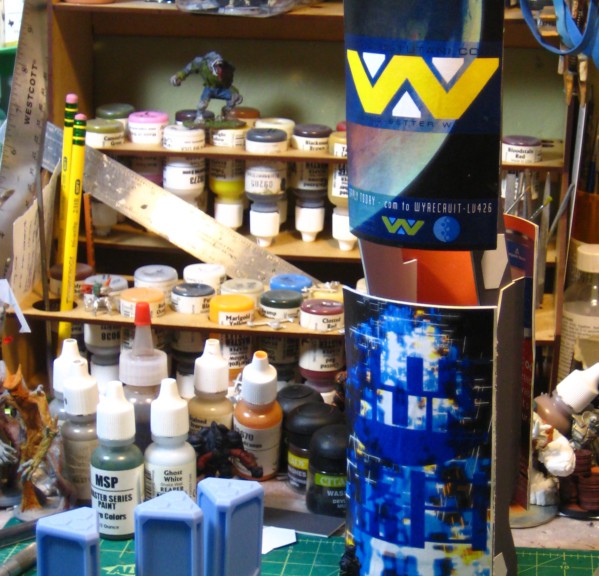
Fit the front wall in between the end walls, again making sure it’s square and vertical. Exact placement isn’t important and will depend on how you intend to detail the front wall. I’ve recessed all my front walls and used various offcuts of card to add a few bits of detail. I figure these are automated booths using various machinery to process FoodGoop9000 (or possibly Soylent Green…) into various forms of fast “food” by adding flavour, so there’s no order window or anything specific on the thing.
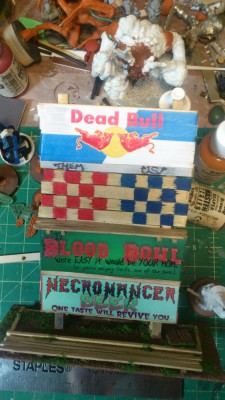
I’ll probably eventually do some graphics to add to the fronts and signs of these booths, including various fast food brands we all know and love like Ariadna Fried Chickenoid and such! They’ll get posted here to the blog when they happen!
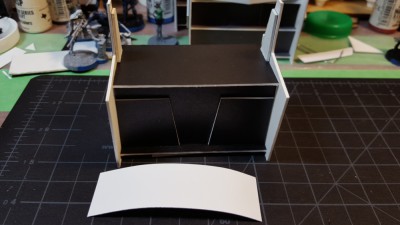
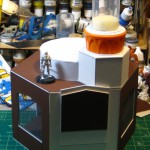
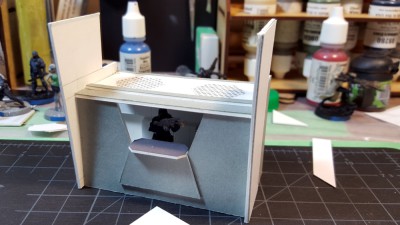
Glue the roof on last, and put the resulting box aside for the glue to dry a bit. Time to move on to the overhead sign.
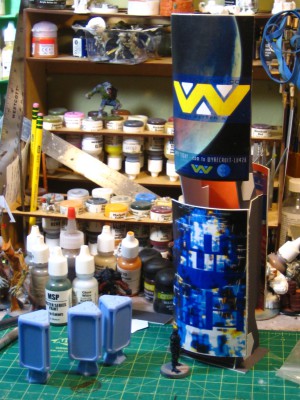
This could be as simple as a single strip of the same 3″ wide card you’ve used for the rest of the thing, or any number of more elaborate constructions. If you want a really, really striking sign, there’s H-Archive’s awesome how-to on making “holographic” displays, which I want to follow myself sometime soon!
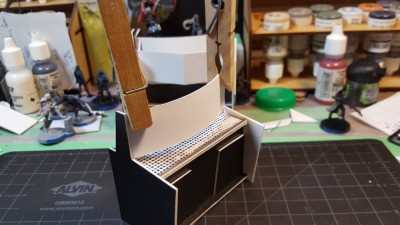
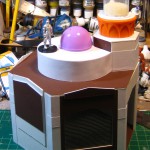
The curved sign is simply three layers of light card (65lbs, I think it is) cut 1″ high and 3 1/8″ long, just slightly longer than the gap between the vertical bits of the end walls, so that it curves. I glued one strip in place, let it cure for a bit, then gently pushed the second and third strips into place and held them with clothspins until the glue dried. Pre-curving the strips by running them over the edge of my workbench helps.
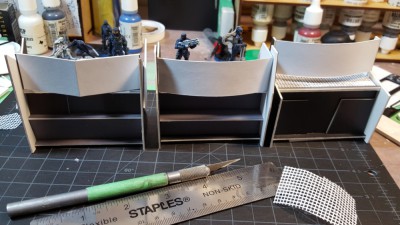
The grid on the roofs of my booths is some sort of embroidery/craft mesh stuff that I got a leftover chunk of from my girlfriend. It adds interesting texture if you can get some, or something similar like the plastic mesh used in window and door screens.
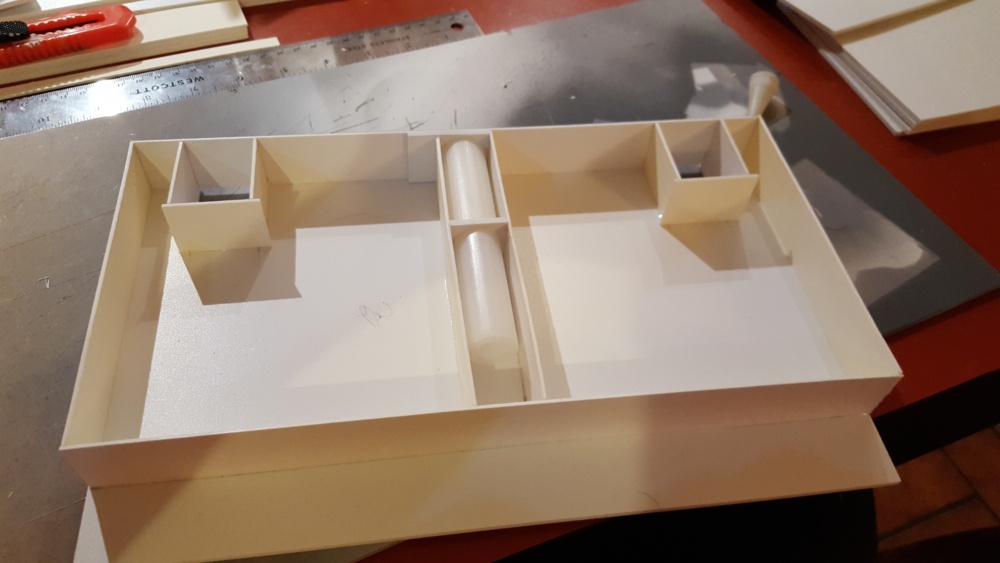
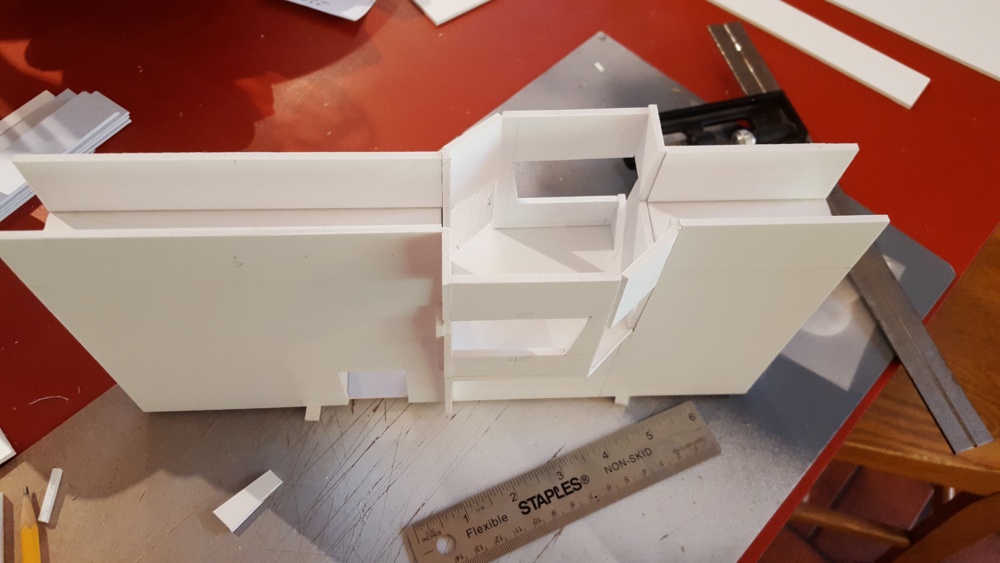
The Manned Booth
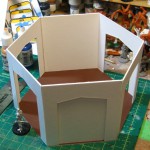
The fourth and final booth is a variant design that is actually run by a person (or humanoid robot, you never know in Infinity) with a door in one end wall and an open order window/bar in one side wall.
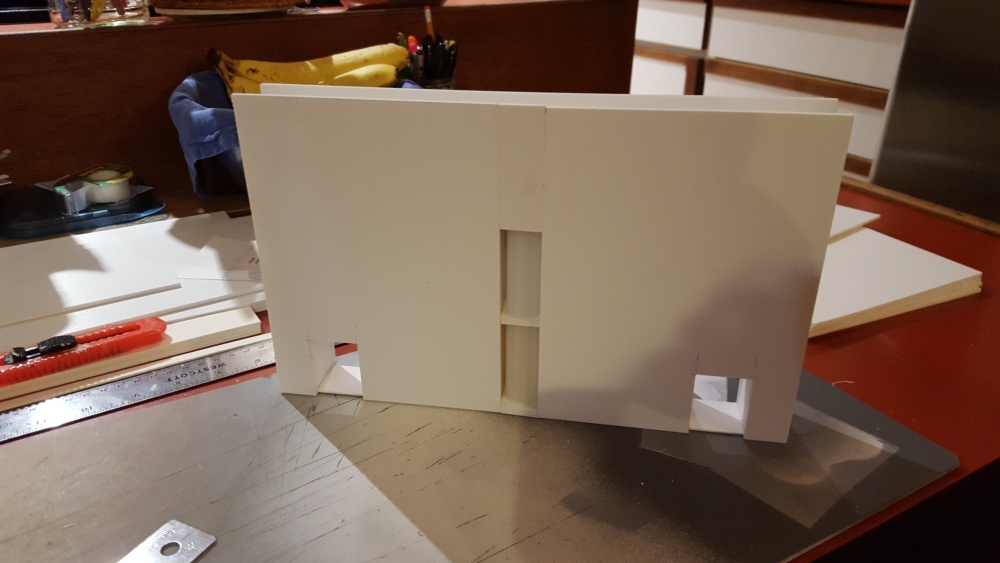
Design is identical to the autobooths above except I cut two of the “back walls” and instead of cutting the roof 1.5″ I cut it 1 5/8ths” wide so it would go over the top edges of the walls properly.
The inside is outfitted with various bits of card for the bar counter, a side bar/prep table, and a whole bunch of cupboards along the walls.
The outside end walls will eventually be painted and decorated to look like drinks glasses, and there will be a sign of some sort on the roof, although of slightly different design than the autobooths because this roof actually comes off.
Any comments or suggestions please leave them below, I do read and reply to comments but due to the spam filters it might be a while before I approve your comment!