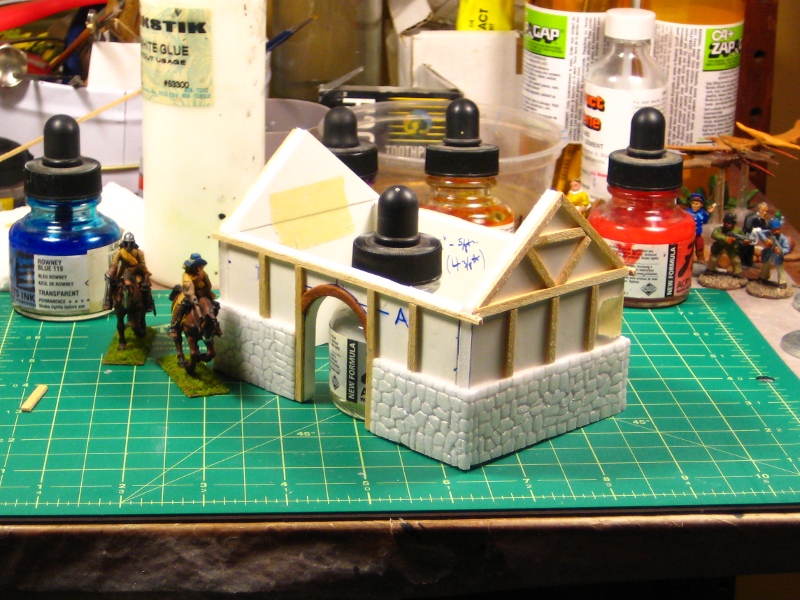
Much chaos in my non-gaming life, so time and brainpower to actually paint is kind of hard to come by, but this weekend I sat down and organized my pike & shot foot figures for Pikeman’s Lament and other English Civil War or Thirty Year’s War gaming.
I now have exactly 60 figures assembled, based, and in progress for this project; I know it’s exactly 60 because the 4Ground 25mm bases I’m using come in batches of 60 and I just finished the first batch of two that I’ve bought!
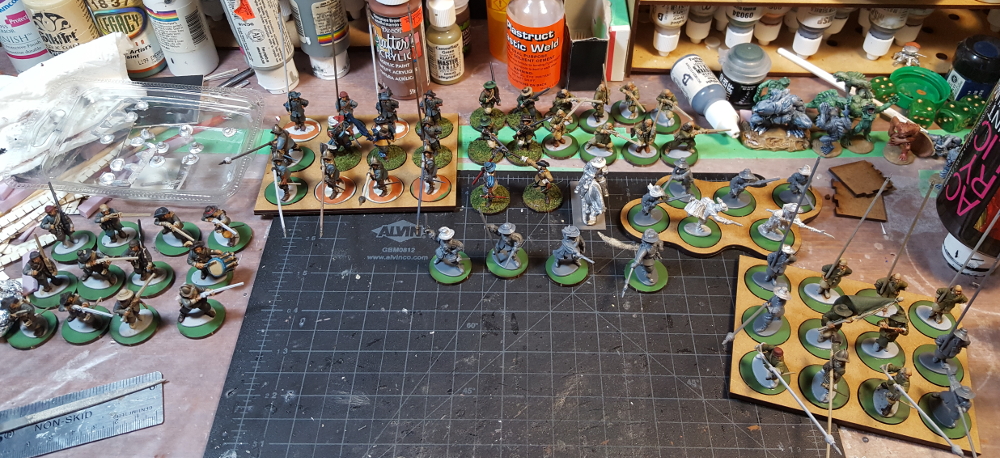
Starting from the far left, there’s a unit of musketeers in blue uniforms, then a pike unit in blue (on the close-order base from Warbases). To the right off the back edge of the cutting mat is another dozen musketeers, this time in green. In front of them is six foot characters/officers/leaders and one mounted officer, and on the skirmish base to the right is the first six forlorn hope firelock musketeers. Finally in the front right corner is another dozen pikemen, in green uniforms. All the figures are from the Warlord Games Pike & Shotte range, all plastic from their infantry regiment box. This is one full infantry regiment box plus a couple of extra sprues picked up separately, except for the firelock/forlorn hope figures who are the first of the Forlorn Hope/Firelock Storming Party box I’ve assembled.
The blue pikes are closest to being done, and a few of the green musketeers got finished as part of LPL11 recently. Most of the bare grey plastic figures were assembled just this weekend to fill out various units and add some more leader/officer/character figures to fill out some units.
Unassembled, I’ve got another 14 musketeers, enough for a second full unit of “blue” musketeers. That will give me a “full” pike and shot unit of 2:1 shot:pike ratio, which will look good on the table! There’s also another 12 firelock musketeers, and a dozen cuirassier heavy cavalry. Finally I’ve got another dozen regular cavalry fully assembled but not shown above; six of them are fully painted and the other six have been almost finished for… about four years now, or maybe longer…
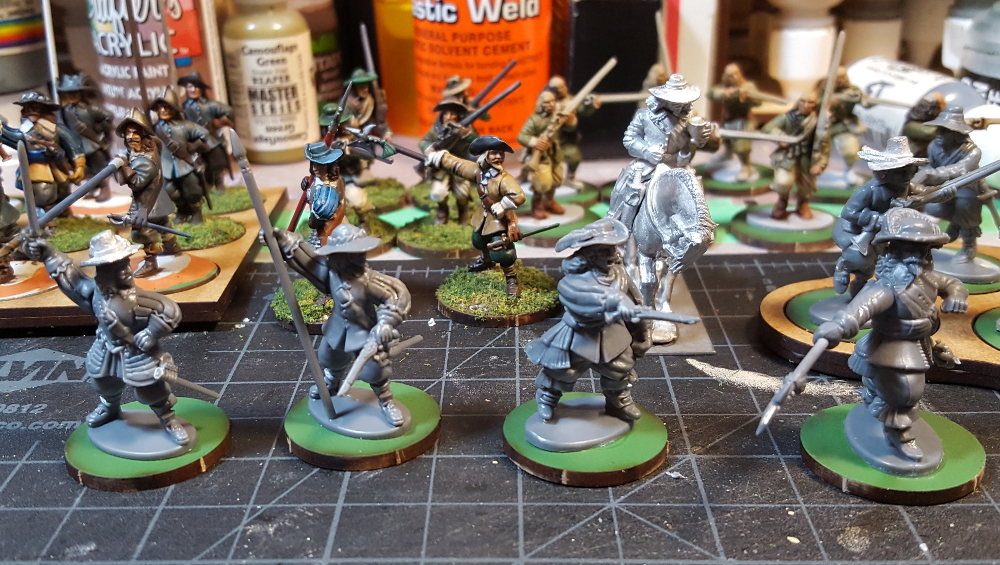
The four new officer/character figures are made with arms from the Warlord plastic pike & shot infantry command sprue, and a mix of pikeman bodies and bodies from the command sprue. The two on the left are pike bodies; the two on the right are command sprue bodies. The two completely finished and based figures in back alongside the mounted officer are also made the same way, with two spare pike bodies. I have more command or character type figures than I’m ever likely to need for Pikeman’s Lament, but they’re fun to assemble and there’s lots of single-figure small skirmish games out there like Pulp Alley that I could see tweaking for an ECW setting!
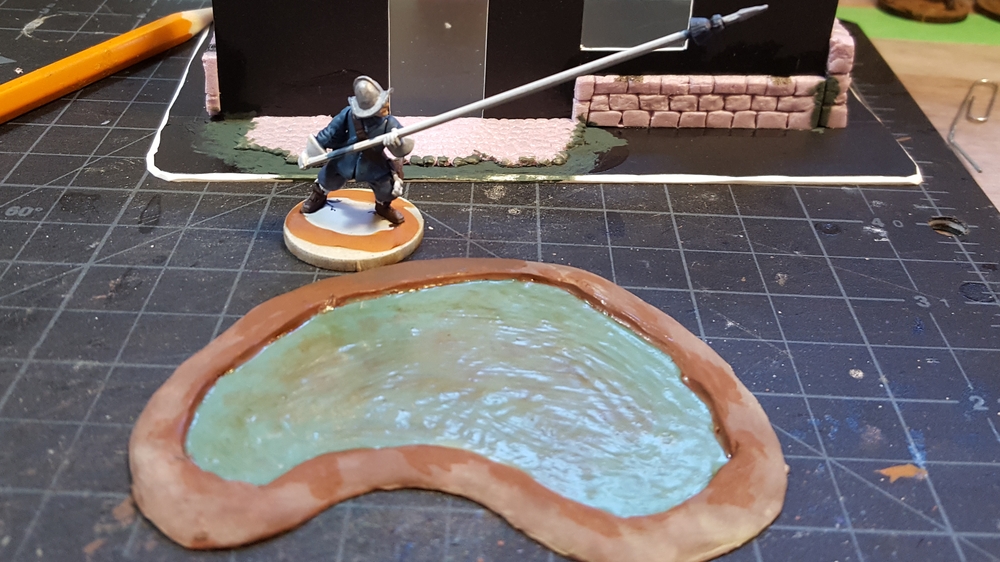
As soon as I saw how the figure on the far right came together I thought about cutting the head of the halberd off and turning it into a magic-user’s staff of some sort! Hmmm, mix and match the fantasy Dragon Rampant with Pikeman’s Lament? Dragon’s Lament? Pikeman Rampant? The two games use the same basic core rules, so it might be possible, and gunpowder/Renaissance fantasy (vs more standard medieval fantasy) has always been an interest of mine!
I haven’t actually sat down with the Pikeman’s Lament rules to put together some companies, but the figures assembled and based here are enough for a full size 24pt force with some different build options. I’m going to try to get one or two of the almost-finished units actually pushed through to completion this week, and hopefully get a PL game of some sort in next Sunday, but we shall see…