Rummaging around our local hobby store, I found the Testors Classics line of 1/48 scale aircraft. They’re cheap (under $10 Cdn per kit) and basic little kits, just right (I hope) for wargaming purposes. I got the shop to order a SPAD Type 13 and a Nieuport Type 17 for me, and finally picked them up earlier in the week.
The Spad 13 apparently never made it to Russia (it was only just entering French service when the Russian Revolution occurred) but the very similar, earlier Spad 7 was in Imperial Russian Air Service use, so close enough for wargaming purposes.
The Nieuport 17 was in pre-Revolutionary Russian service, so I don’t have to fudge at all to include it in my RCW forces.
I’ve decided the Bolsheviks will get the Nieuport and the Whites the Spad. I’ll rig both with a screw or something similar out of the belly to attach to a flying stand, and probably use large washers and steel wire for the flying stand, with an alligator clip at the top so the planes are positionable and removable.
For painting, the classic colour for a Nieuport is dull silver, that being the basic dope the French used on them. The Russian website Wings Palette has a huge collection of colour plates of aircraft from all over, and their page on Red Russian Nieuports includes some nice examples, as does Modelling the VVS: Nieuport 17. I’ll probably go with silver doped body and wings, a white vertical tail, red stars on the tail and as many other places as I can stand to freehand a red star… (actually, I should head back to the hobby shop and rummage through their bins of spare and orphaned decals in search of some basic red stars!)
The Modelling the VVS article on the Nieuport 24 also has some great Red schemes. Red tail, red fuselage stripes, red nose and about twelve red stars plastered everywhere? Apparently a real RCW scheme!
The White Russian Spad will likely be either tan or dark green, for contrast to the Nieuport, with Russian roundels (simlar to RAF or French roundels, except with thin rings of red and blue around a much larger central white circle). Again the Wings Palette page on the Spad 7 in Imperial Russian service has some inspiration, as does White Falcons: Anti-Bolshevik Air Forces. I’m torn between a bold Russian tricolour on the tail, and the awesome skull-and-crossbones on a few of the Wings Palette examples!

The Wings Palette Nieuport 17 in White Guard service also has some interesting paint schemes — the diagonal tricolour tail is striking.
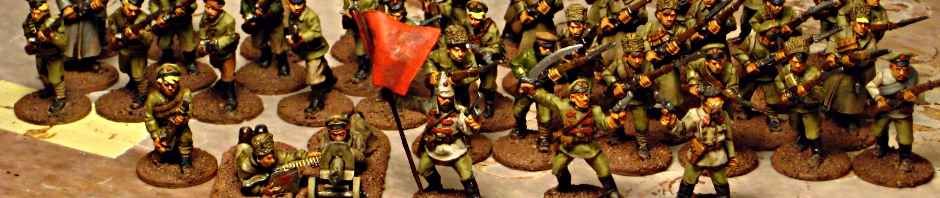
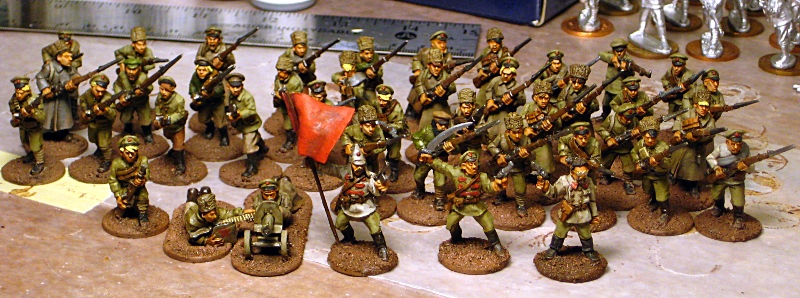
Anyway, before I tackle airplanes I have whole platoons of 28mm infantry to finish, but I thought I’d share some links and research first!