Last Sunday (15 March) got us another bash at using Chain of Command/Mud & Blood (I’ve taken to calling it “Chain of Mud”) for Russian Civil War adventures. I umpired the game for Mike, who has played RCW previously a number of times and once with the current Chain of Mud rules, and his brother Stewart, who was visiting from Vancouver and had heard interesting things about my RCW games and wanted to try it out.
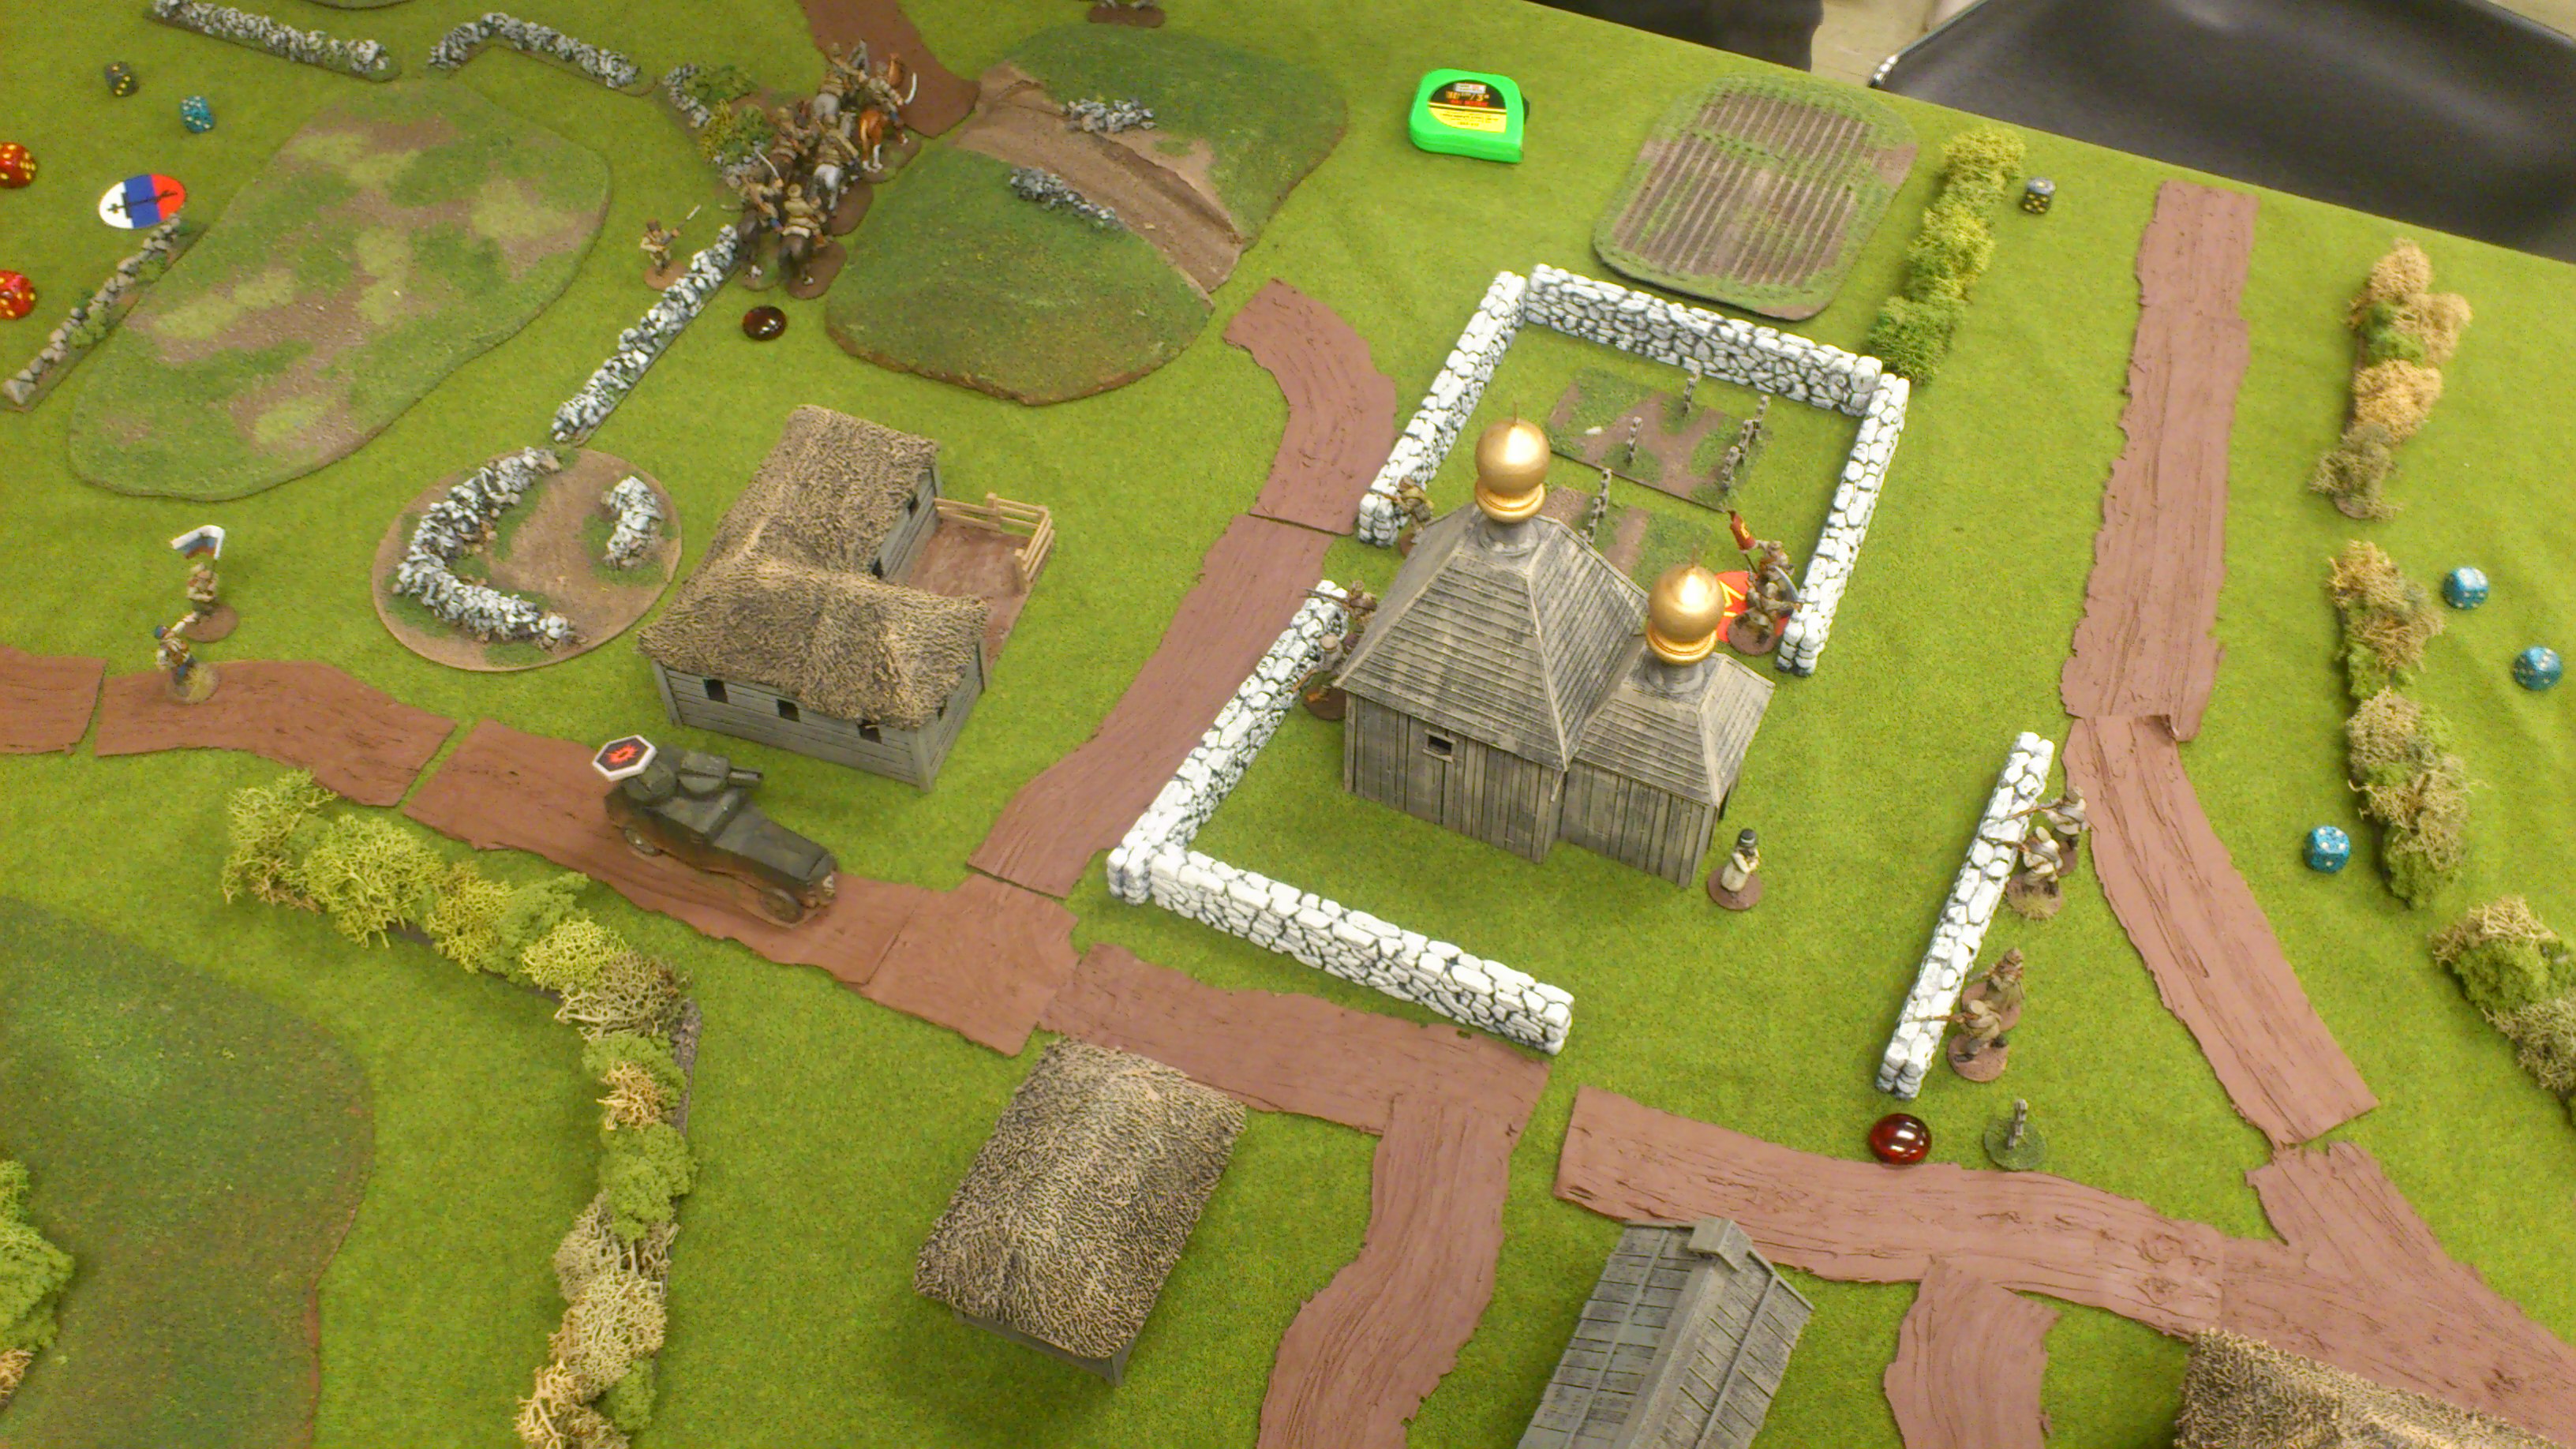
We had a scratch White force of a short platoon of White Rifles (three sections), supported by two small troops (Teams) of Cossack cavalry and an armoured car attacking a hamlet around a small walled monastery defended by two sections of Red militia backed up by a single section of Red Guard and a single Team of especially enthusiastic local Reds lead by one of the Red Guard leaders.
It was a good game that saw the White rifles driven off by Red rifle fire before the Cossacks and the armoured car finally rout the Reds in a really, really tight game that saw both players convinced it was all over for them several times.
I realized afterward that I’d gotten the Force Morale tests wrong in the heat of the moment, so the Whites missed two tests that would almost certainly have damaged their Force Morale and could have cost them the game.
I’m really starting to enjoy the Patrol Phase of the game and the use of Jump-Off Points. The tactics of the Patrol Phase, once new players catch on, can be almost as fascinating as the main game itself, with the limits on movement imposed on the Patrol Markers and the conflicting desires to set up good JoPs for yourself and also deny the enemy good JoP positions. This was the first game we’ve played where one Jump-off Point marker wound up right on the table edge, nearly halfway up one long side of the table, which gave the Whites a flanking position on the whole hamlet that gave the Reds quite a lot of trouble in the first half of the game.
I’ll be running an expanded and tweaked version of this scenario at Trumpeter Salute in Vancouver in a couple of weeks; I might swap the ordinary Red Guard out for a section or two of Red Sailors, just because they’re such a colourful set of figures to put on the table! With a bit of postal luck I might also have a tchanka from Eureka Minis to add to the fun!