We’ve been playing a fair amount of Sellswords and Spellslingers, a fairly light coop fantasy skirmish game. I picked it up on a lark, as I wanted something different it looked fun. Years ago Brian and I played a fair amount of Song of Blades & Heroes by the same author, which is a competitive, fast-play fantasy skirmish ruleset. You can read about one of our games many years ago here:
We recently we played through the Necromancer in the Tower scenario, something we’ve tried and failed before. Be warned, SS&SS can be a brutal game and losing your entire team is not unknown.
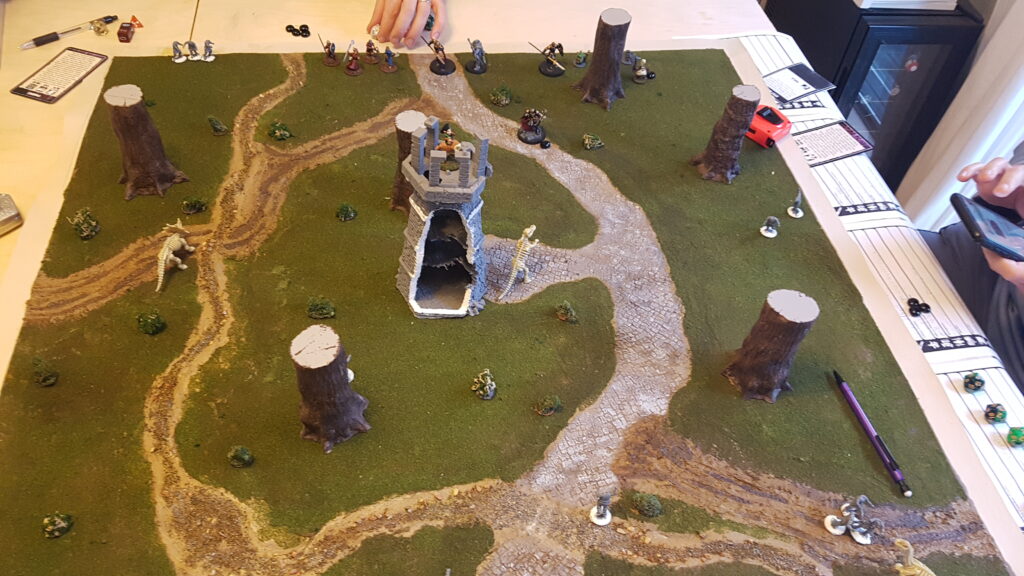
This scenario is pretty simple – fight your way through to the necromancer in the tower, kill them and then fight your way out. Like all SS&SS games, the game begins with a few foes scattered throughout the map, some deployed as hordes and some individually. To makes things interesting, I pulled out some skeletal dinosaurs I found a few years ago and meant to turn into museum exhibits for pulp but never did.
The game opened with the three dinosaurs nicely split across the board and us on the road into the tower. Early turns had us pick off the straggler skeletons and make good progress towards the tower. It looked to be going swimmingly, save for Brian rolling a 1 with his wizard, putting him out of magic. Which is where things go wrong.
We run a custom event deck, one that takes a few of the monster spawning cards and adds a few new monster moving cards. One of which is Target on your Back. It causes the nearest non-Minion foe to target that PC to the exclusivity of anybody else.
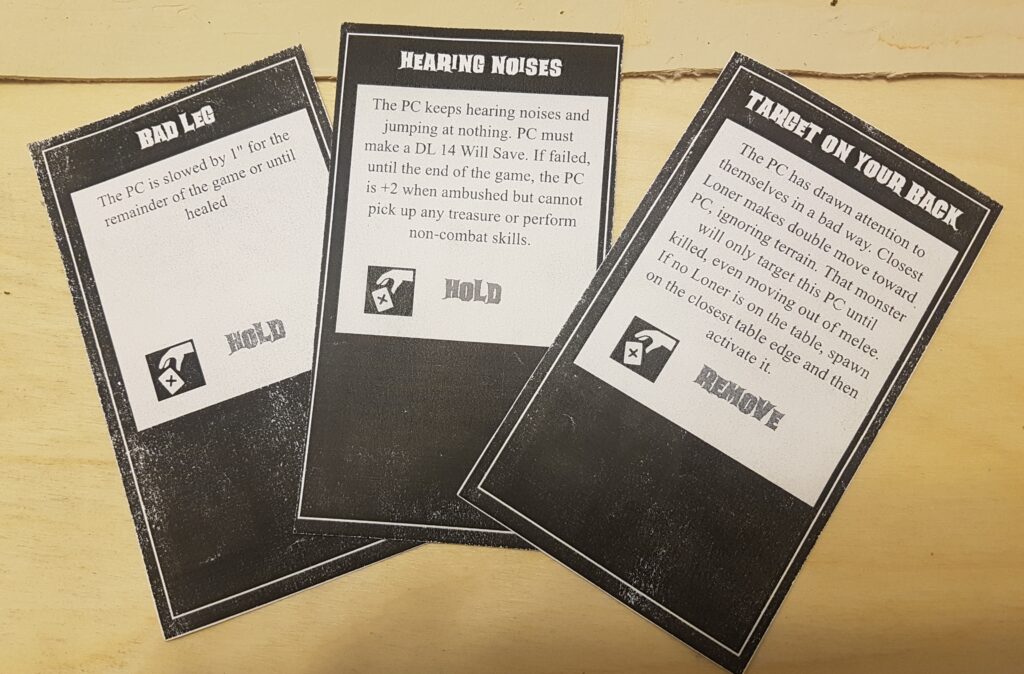
This card has caused chaos in previous games – a bear ran across the table, the PC it was attacking ran off the table, so it promptly killed two other PCs in revenge. In this game, it was no different. In two turns, the ceratops charged pretty much all the way across the map, attacking my main character, the wizard Green Hat. Who promptly went down, followed by my bruiser fighter, Mohawk. And then one of Brian’s figures. Here is where the necromancer’s ability to save their undead came in – the ceratops saved 3 different hits that would have killed it, each by a figure that later died by its horn.
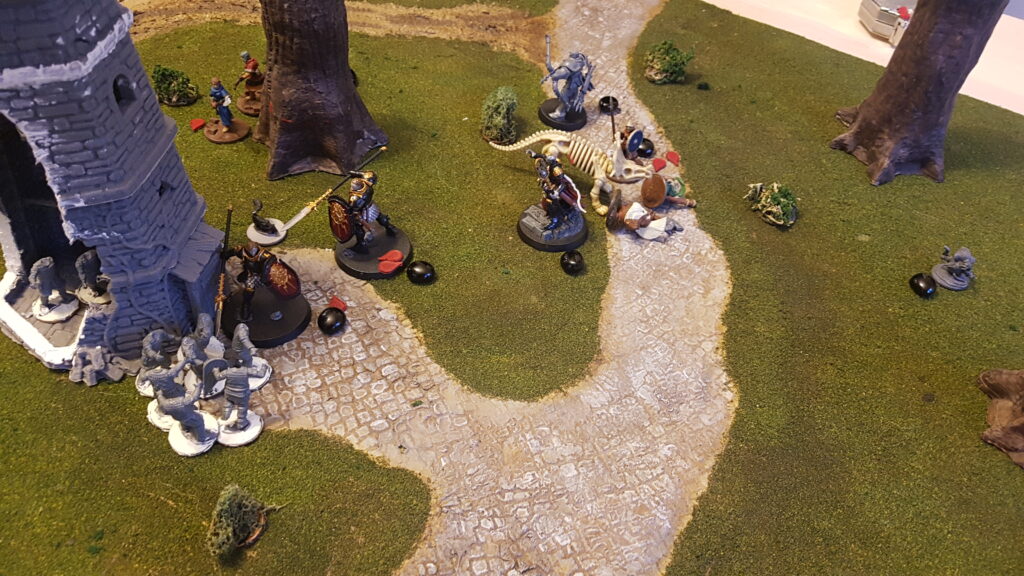
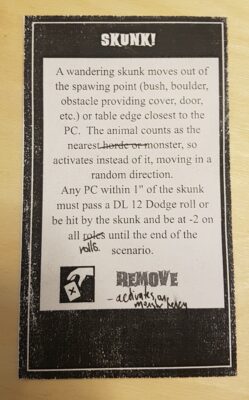
At this tense moment, nobody could really help me, as Sean was battling 12 skeletons in and around the tower, a merging of about 4 hordes of them, some in the tower, some outside. And Brian’s PCs were pinned by the skunk, a wandering monster that while it can’t harm directly, can you make you smell real good.
Thankfully a few targeted ranged attacks took out the necromancer and with it, most of the skeletons evaporated. And then the ceratops finally went down, but not before doing a lot of damage.
All in all, a fun game and while lethal, we actually managed to succeed, unlike a decent number of our games.
Game Details
We were running 80 XP parties, with Sean and Brian each having four figures to my 3. Each of us had a spellcaster and a ranged figure.
Stats for the Dinosaurs
All the dinosaurs were run with the following:
DL 14 HP 4 DMG 2
All had Bony Undead as per the Skeletal Warrior card – which makes them harder to hit by arrows and easier by crushing weapons (which apparently none of us had)
- Brachiosaurus
- Tail Sweep – everybody with 1″ takes DL 12 attack or falls prone
- Trample – everybody in path of moving is attacked
- Centrosaurus
- Gore – when charging, DL is 16 (as per Greater Minotaur)
- Hadrosaur
- Trample as per above
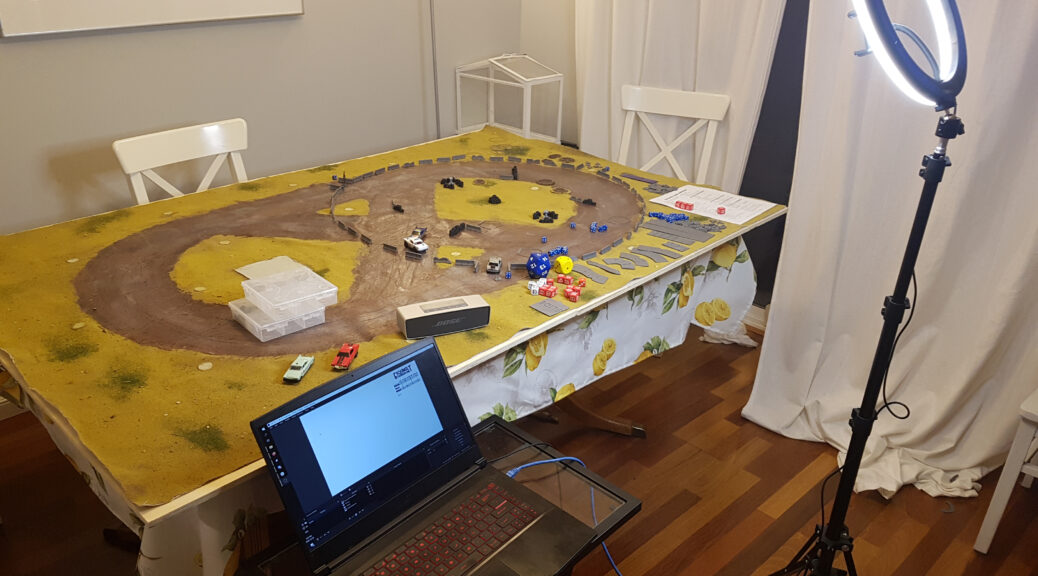
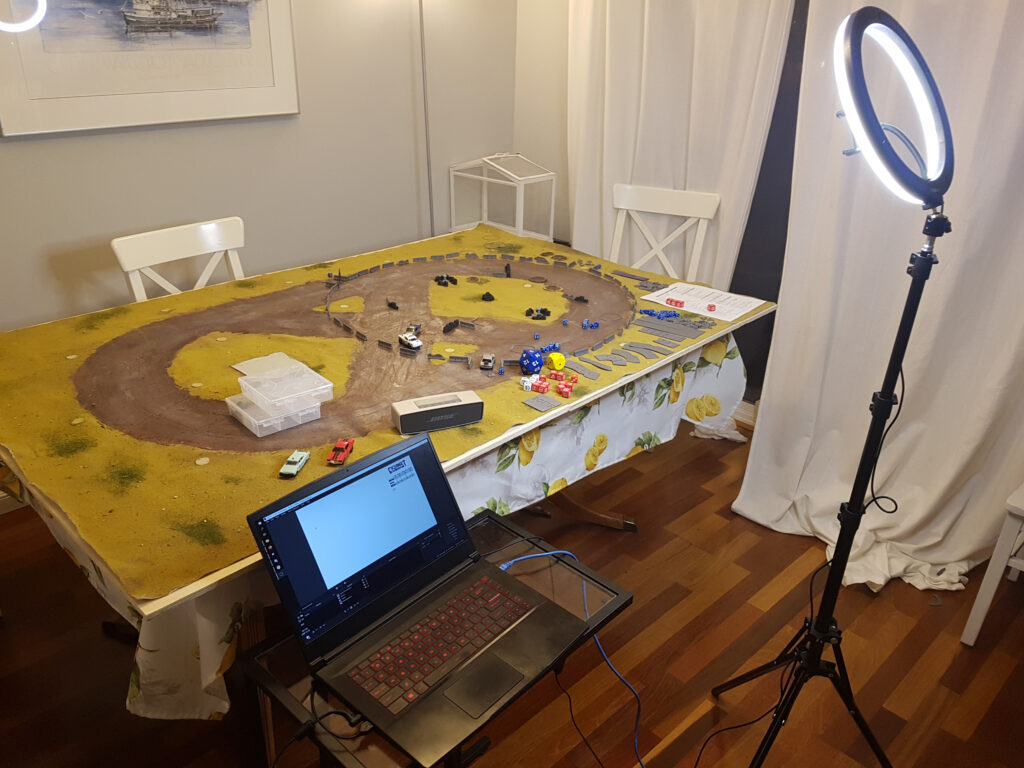
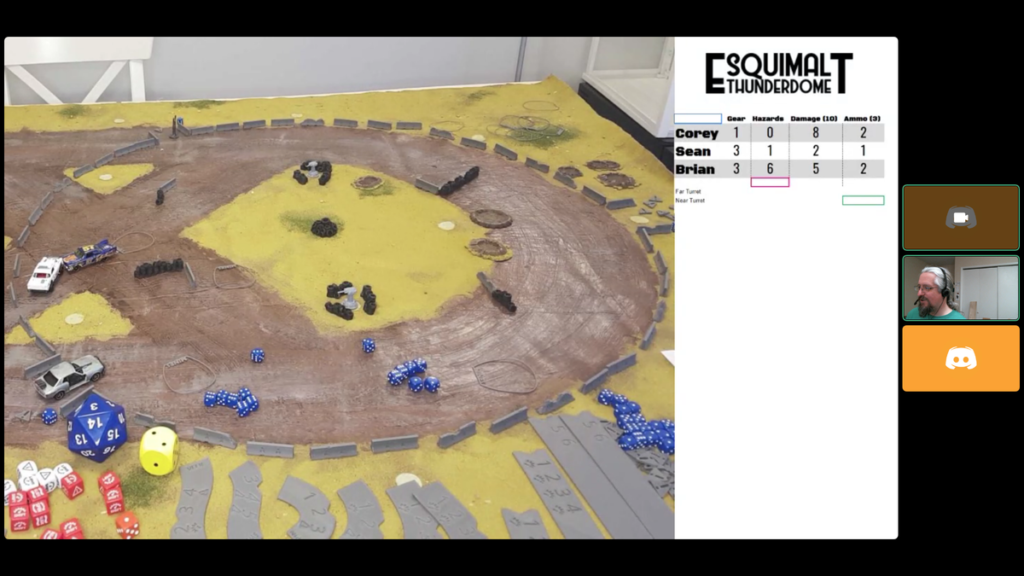
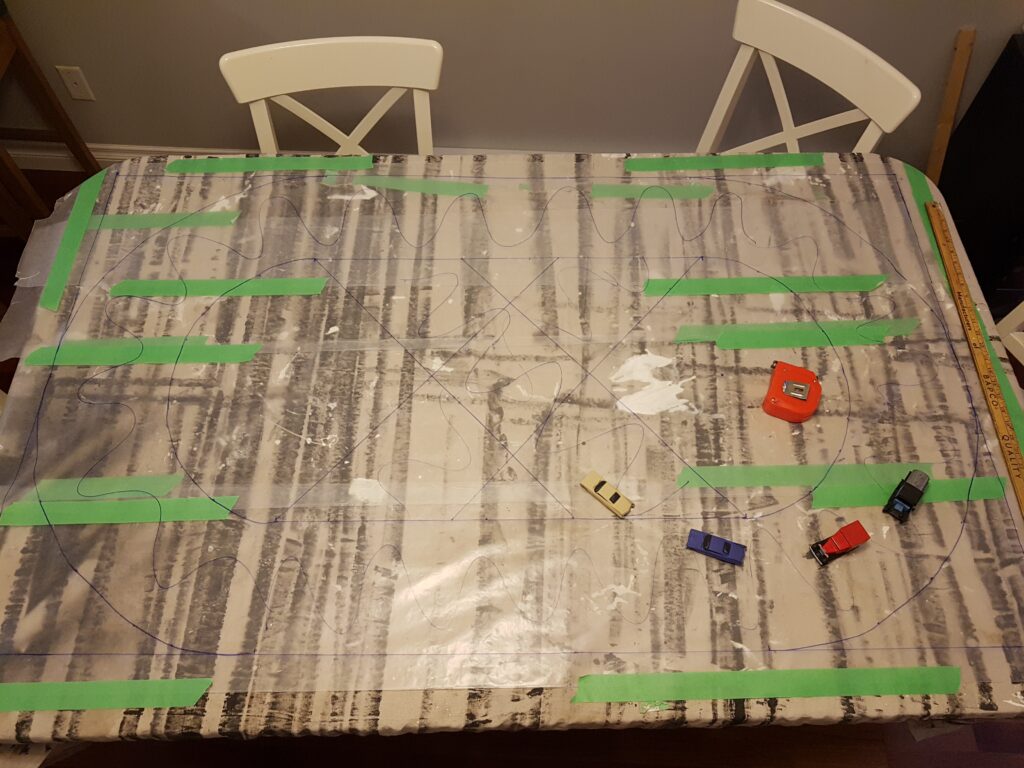
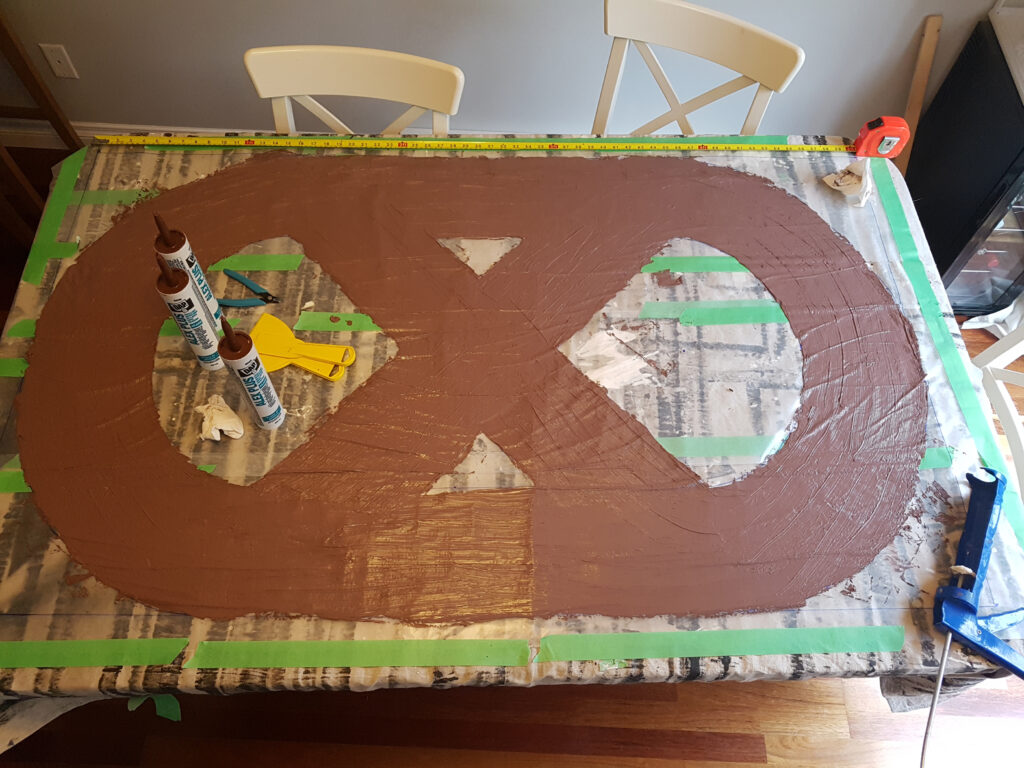
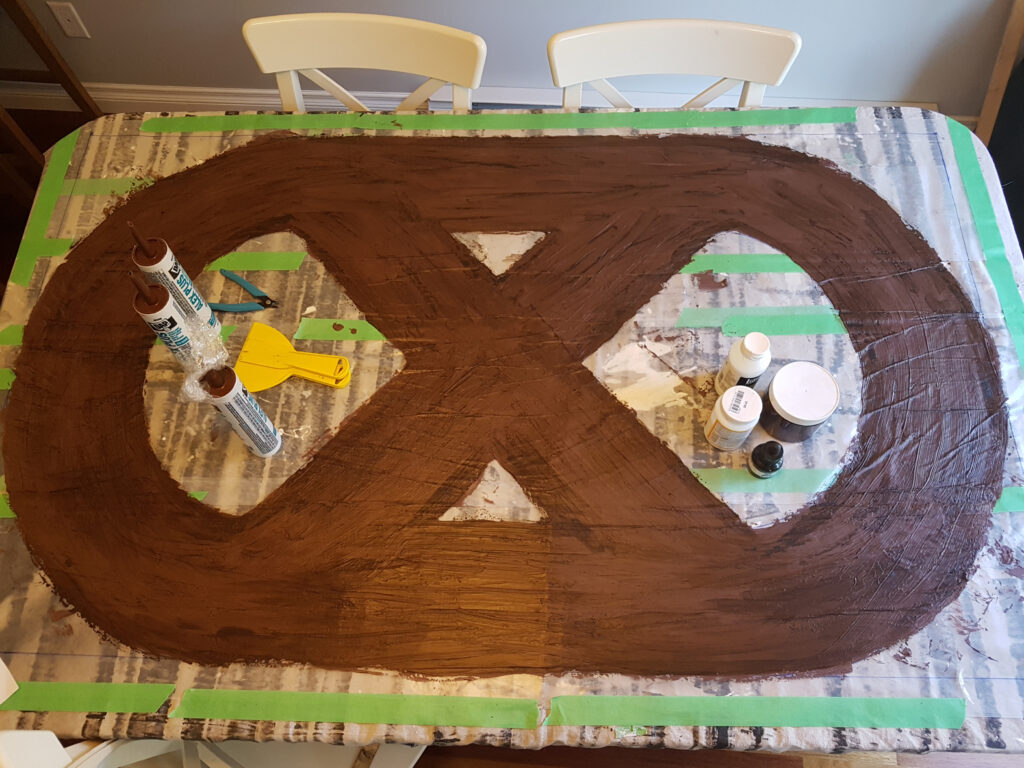
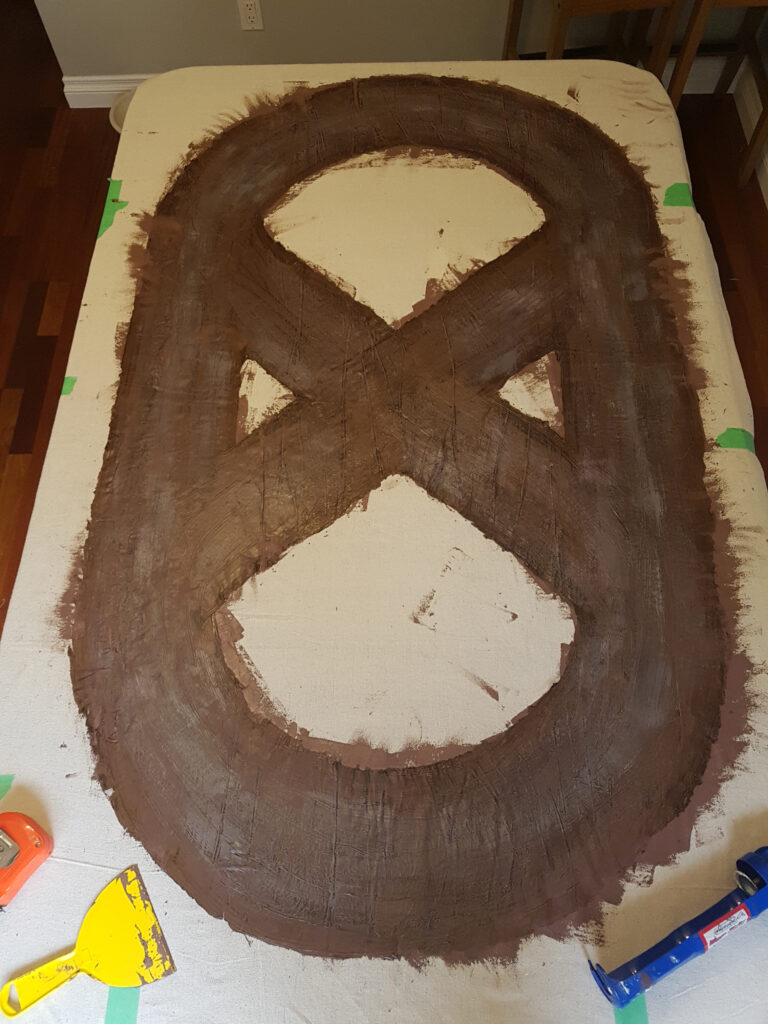
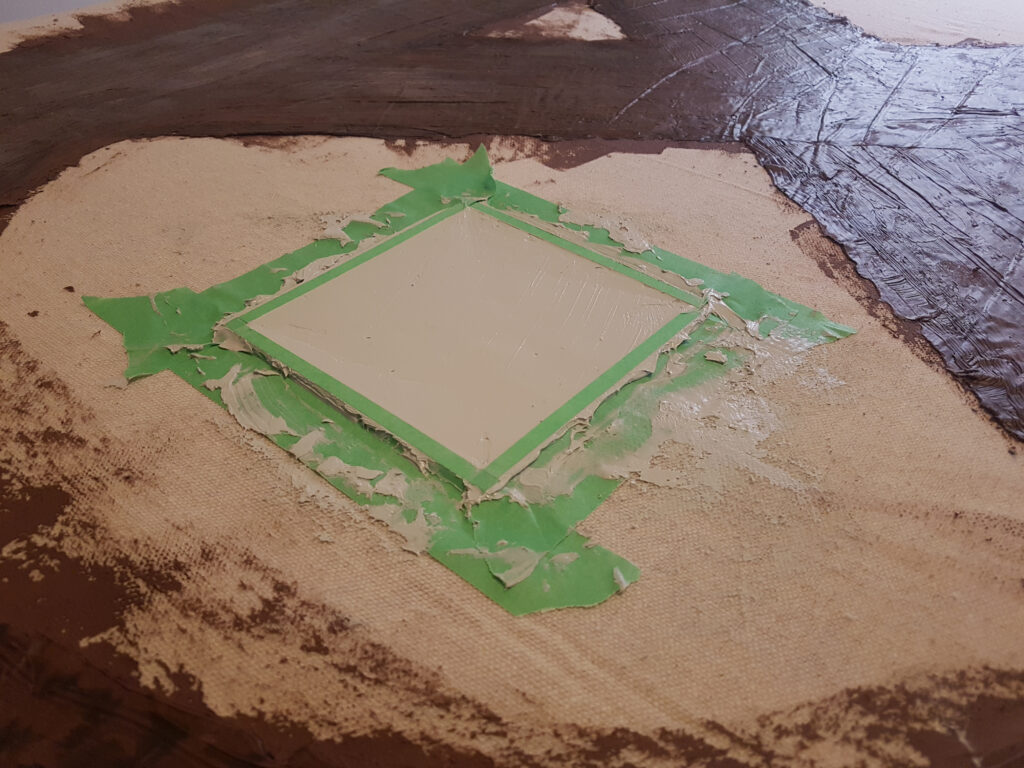
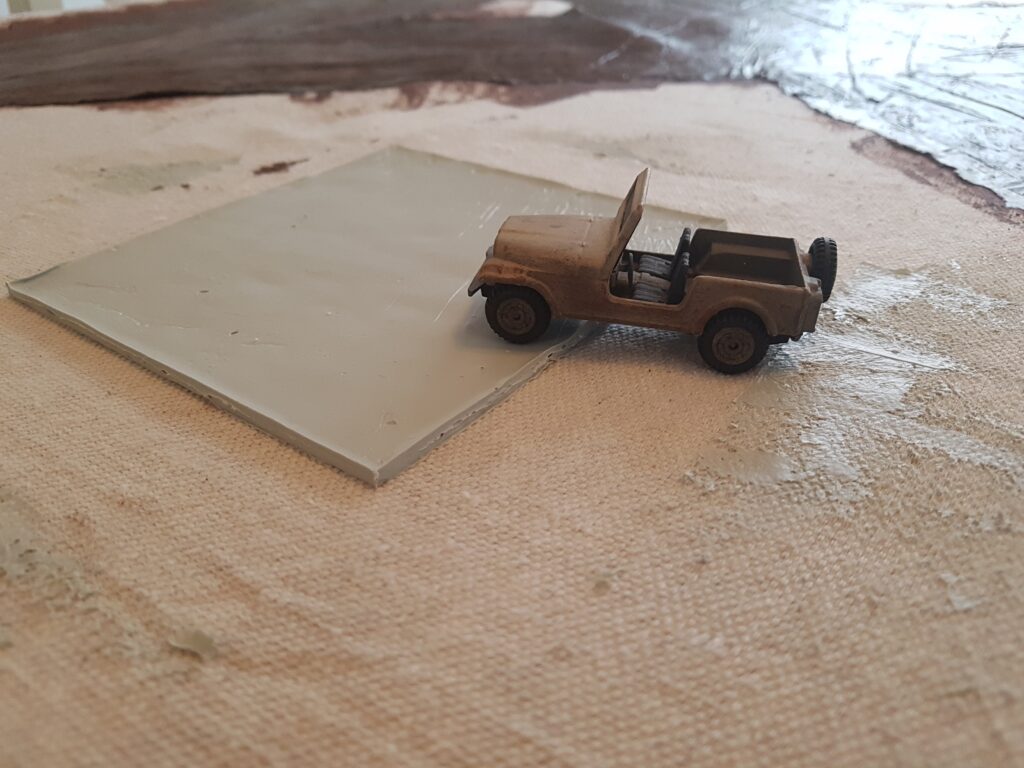
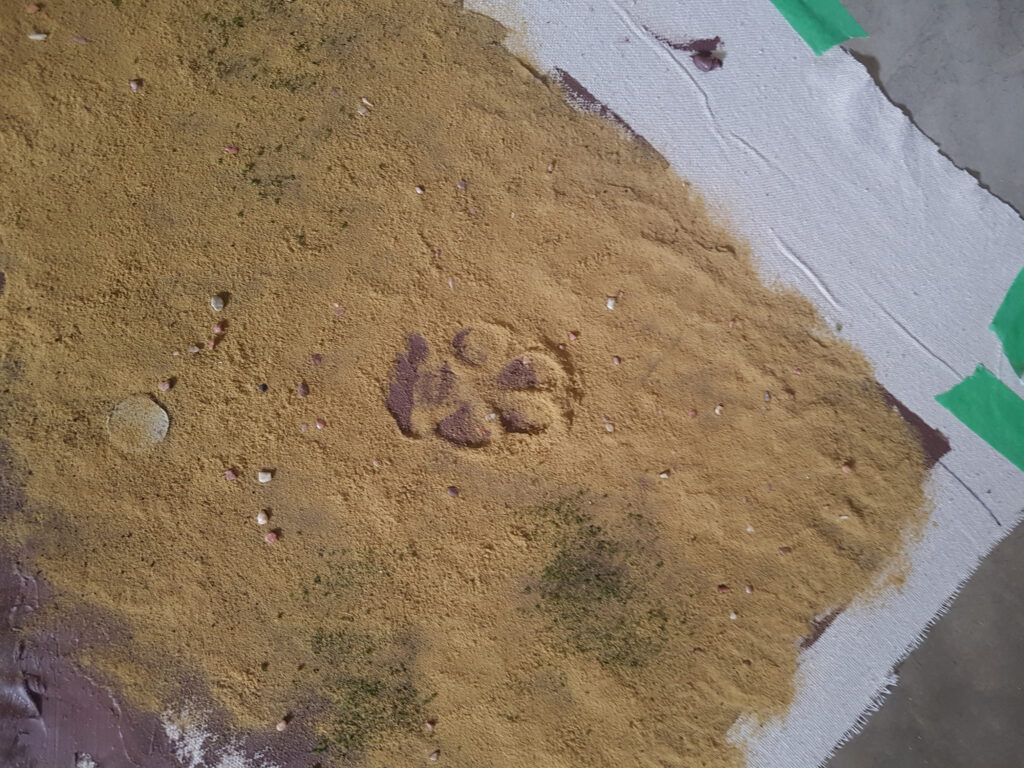
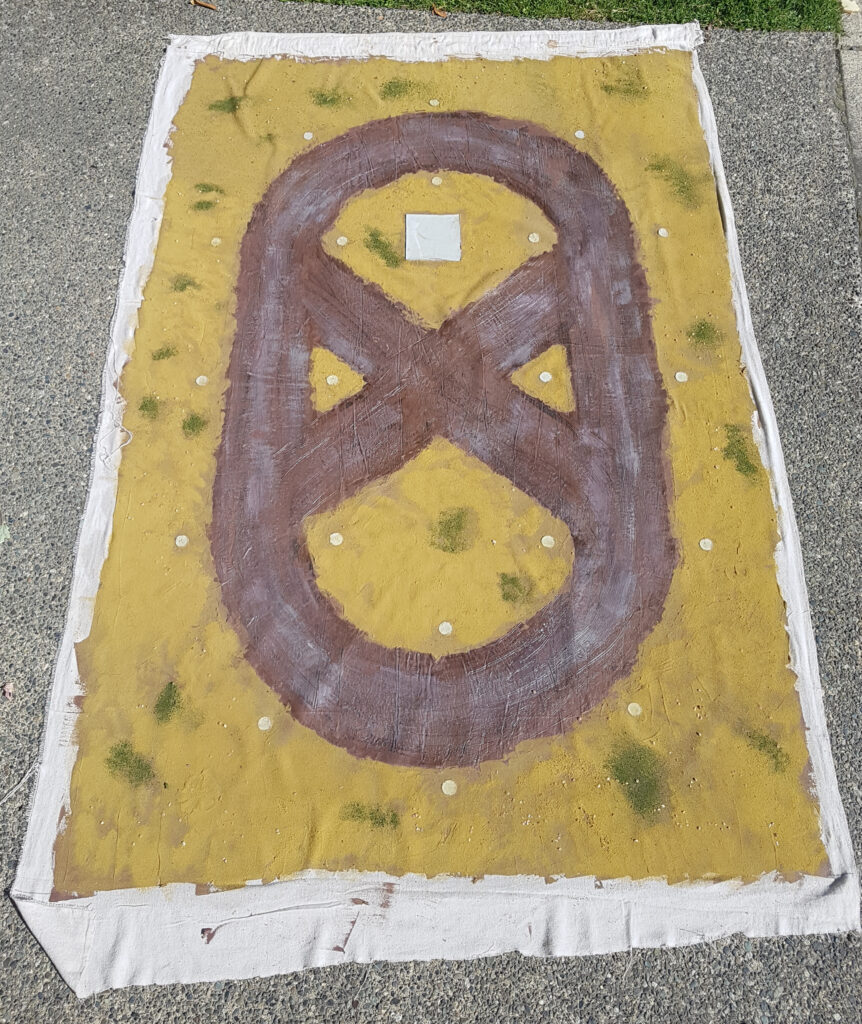
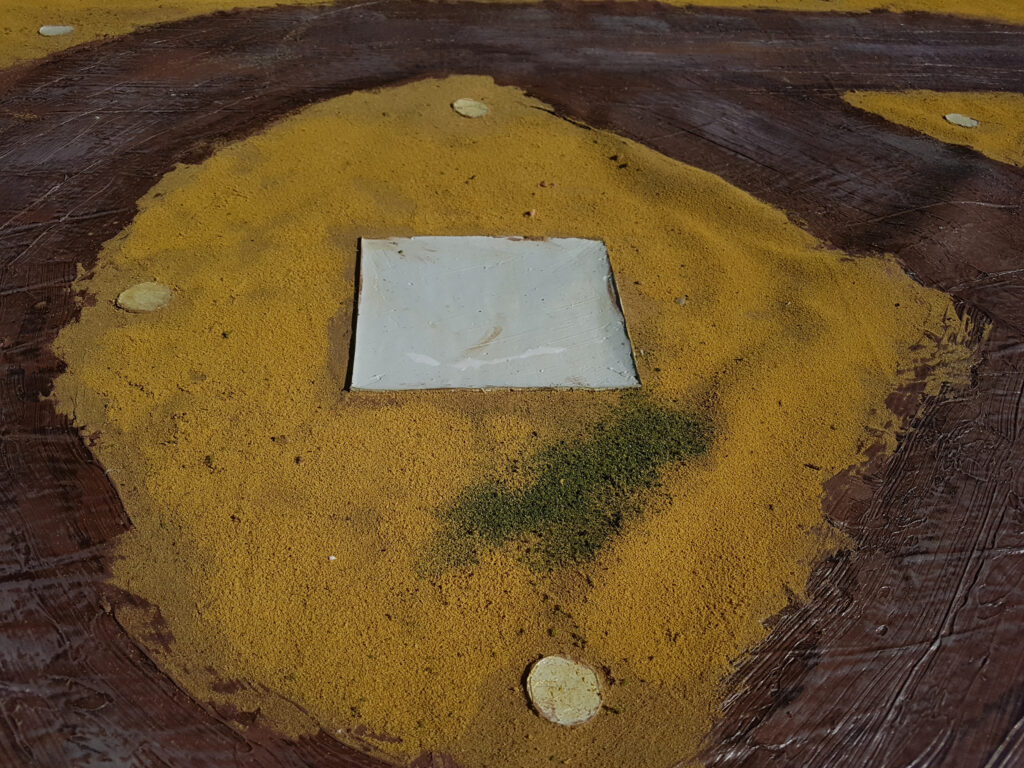
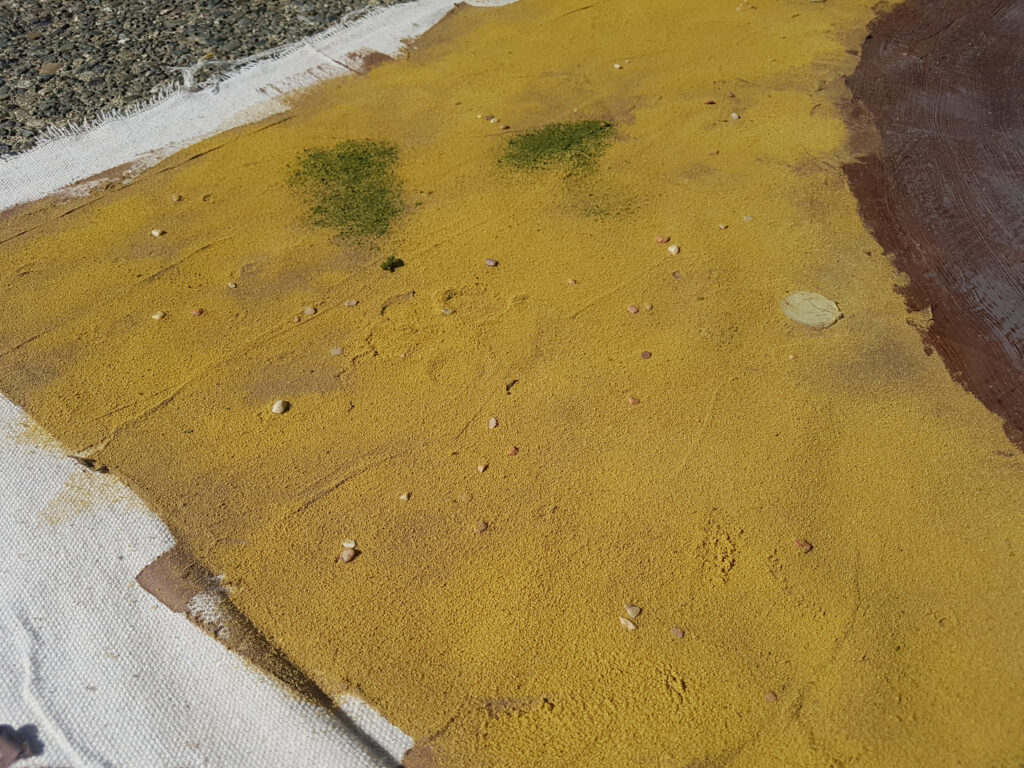
The board
The board was pretty simple. The mat itself is a custom SS&SS mat I have been working on for a while now and will write up soon. The necromancer’s tower is a 3D print of the Abandoned Lighthouse by escaroth on Thingiverse, while the trees are from Vegetation B by terrain4print. The bushes are new, adapted from Luke @ Geek Gaming Scenics. Will write those up too soon.