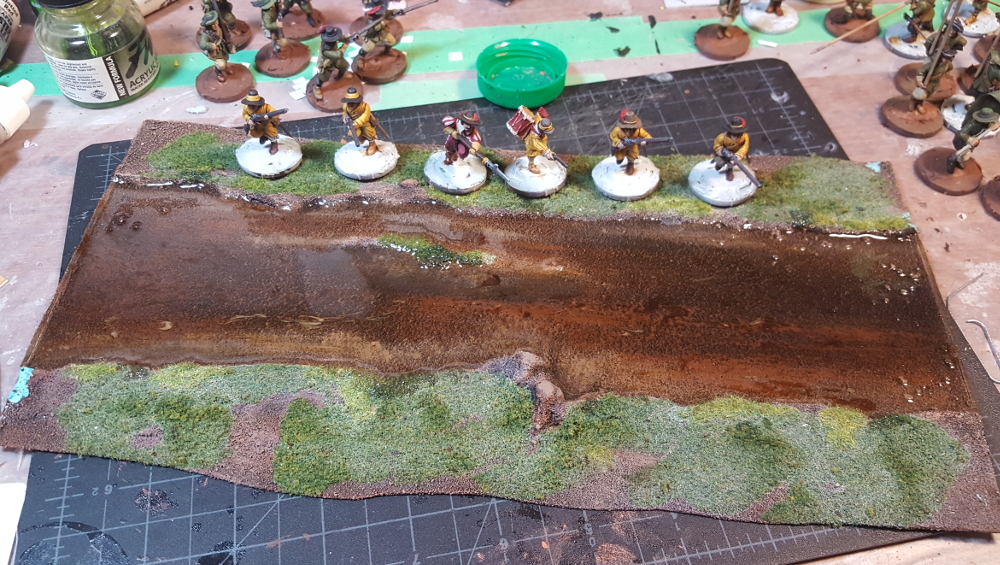
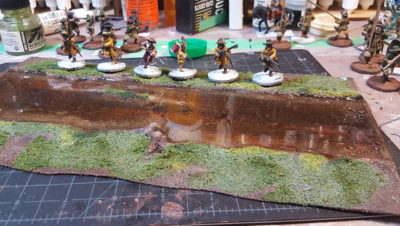
Gradual progress on pouring resin into the river segments, doing one segment every night. I work on an old plastic cafeteria tray and cover the tray with a box lid to keep out dust, cat hair, the cat, and other household sources of lint, dust, and fluff that will happily glue themselves to freshly poured resin.
One ounce of resin (half an ounce each of resin and hardener) is enough for one of the long 12″ river modules, which makes for easy measuring. I bought a batch of disposable plastic 3oz shot glasses to mix the resin in, and those seem to be working out nicely so far.
I add 8-10 drops of GW brown wash as I mix the resin, just enough to darken it a bit and add a bit more depth to the water effect. Between that and the shading I painted into the river bed sections I think I’ve gotten a reasonable feel of depth from a layer of resin that’s only about 1/8th” deep or so!

There’s a little bit of a lip on the ends where the resin has crept up the sides of the dams, but I’ll use a knife and wet sanding to get rid of that and a bit of gloss medium (or an additional dab of resin) to fix any scuffing from that process. I need to scrape off or cover the bits of blu-tak that have been glued into place by the resin, too, but I’ll do that last while I’m fixing the discoloured flocking along the banks, the places where the resin has soaked up into the flock, and adding the rest of the foliage.
Onward to the next resin pouring session!
(Semi-random aside: This is the 480th post here on The Warbard! Here’s to 500 before the end of 2017! September 2017 will mark seven years of our current WordPress based format; November 2017 will mark 19 years (!) of a wargaming web presence of some sort or another for me. I should probably organize something interesting for our 20th anniversary in November 2018…)


Very nice! Looking forward to playing on / across / over these!