Not much activity on the wargaming front in the last couple weeks, for a variety of mostly-irritating reasons, but I have made a bit of progress on the Warbases church I first mentioned in a post a few weeks back.
This is a nicely proportioned building, not so big as to dominate the table, and it’s of a basic design that can literally be found all over the world, anywhere Europeans (especially the Brits) hung out long enough to build churches. You could assemble the basic church in just a few minutes, paint it up quickly, and have a solid and respectable piece of wargaming terrain to use for years. Inspired by the really nicely upgraded example shown on the Warbases website, though, I’ve decided to do some extra detailing and really make this building pop.
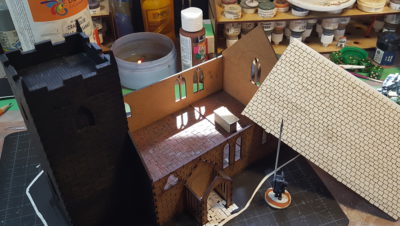
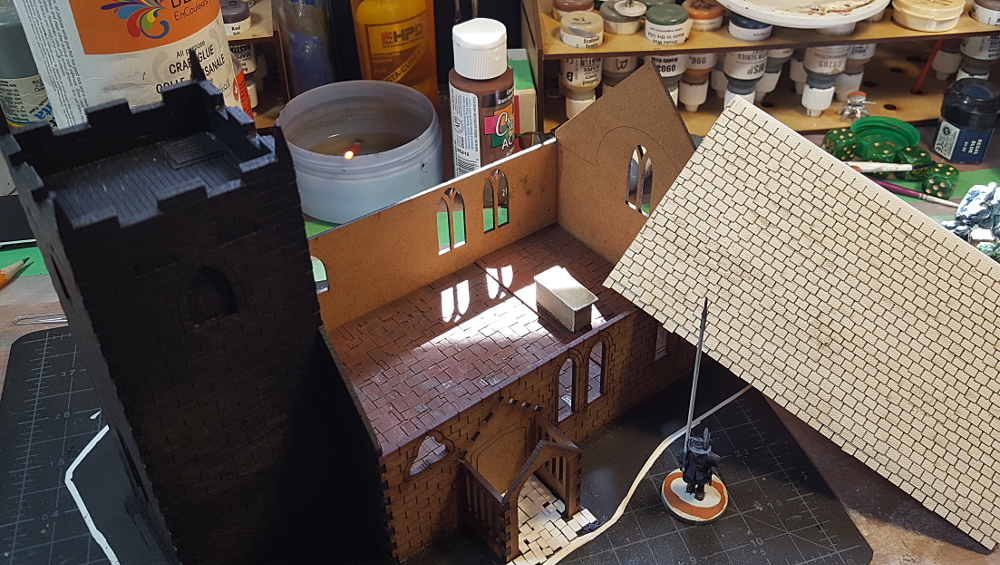
I started by assembling the tower, then glued it and the floor to a piece of matt board roughly 11″ long by 7″ wide. I used light card to put flagstones on the floor, with another piece of mattboard at one end of the floor to raise the altar just a bit. The altar itself is more bits of matt board assembled into a rectangle about 1″ wide and half an inch deep. The altar got a coat of GW Liquid Greenstuff for texture, then painted grey with various washes, and a quick edge highlight of much lighter grey.

The floor was primed black, then heavily drybrushed with a couple of shades of brown, red oxide, and burnt umber craft paints to get a good reddish stone colour. Most of the church is going to be that colour, with grey stone trim, as a change from the default grey stone!
The entry way on the side of the church has similar flagstone laid down and will eventually be painted the same as the inside floor.
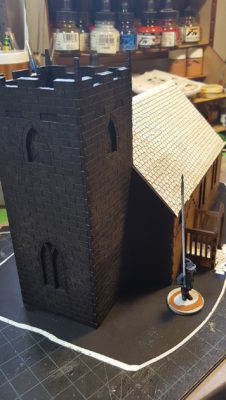
It’s kind of hard to see on the photo above but at the top of the tower I’ve added wood plank flooring from sheet styrene, a trap door in one corner (more sheet styrene), and added matt board to the inside surfaces of the crenelated tops of the walls to double the thickness and make it look more like stonework.
The roof got covered in Warbases slate tiles, sold in sheets lasercut from heavy paper (light card? Hard to say, really) with an interesting texture to it. Certainly easier than cutting my own tiles, I got the entire roof covered in just over half an hour of work!
Next up will be adding stone piers to the corners of the building from pink styrofoam, and adding some other stonework detailing with either styrofoam or greenstuff putty.


