So, you’re writing a classic interwar pulp scenario to play with your favourite rules. Or you’re just reading one of the great pulp stories for inspiration… what about a soundtrack to listen to at the same time?
Continue reading Pulp Music Online
Monthly Archives: January 2011
The Amulet of Fire
After running last year’s .45 Adventures convention scenario at least six times, it was time to retire it. Few things worse than a bored gamemaster, trust me.
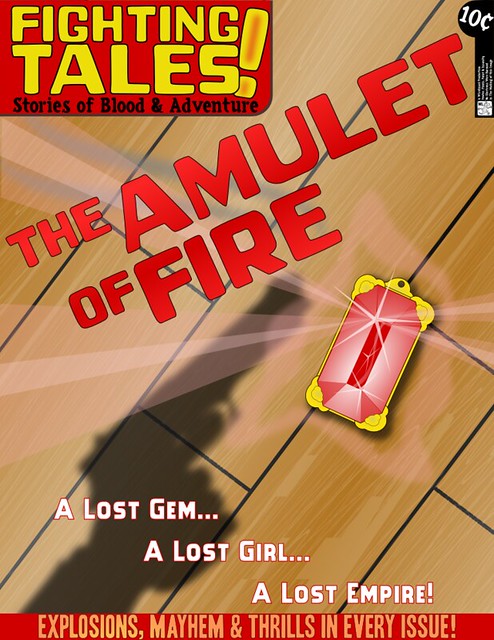
So this year’s convention scenario is going to be a two-act thing (two smaller scenarios instead of one larger one), and because my mind works in strange ways sometimes, the first thing I’ve finished is another “Fighting Tales” faux cover. (First three together here)
The rest of the scenario should be finished, first draft at least, this weekend, then it’s a playtest and on to it’s first public showing at GottaCon 2011, 4-6 Feb.
Repainting Commercial Stone Walls
Pegasus produce a range of prepainted plastic 28mm wargaming scenery; all the stuff I’ve seen has been well cast but mostly badly painted. The stone wall sections are good value for money, though, with six 6″ sections for $10 at my Friendly Local Gaming Store.
I picked up a pack, took them home and while repainting them, took enough photos to assemble into a quick, hopefully inspirational, how-to.
(Click the image to see the full-size version at Flickr)
Building A 28mm Tent
There’s been previous versions of this tutorial posted on Lead Adventure and the Speakeasy, but I figured it’s worth reposting here.
After killing a dress shirt (black ink leaking does that to white cotton) I realized it would work nicely as material for a large safari/expedition tent. I used a CD as the base, with small blobs of milliput holding long toothpicks vertically as the poles — three on the front, three on the back. After the putty holding the poles was dry (and reinforced with a bit of superglue) I wrapped thick sewing thread around the tips of the poles, with a dab of superglue holding it in place and a bit more superglue stiffening the thread after it was secured.
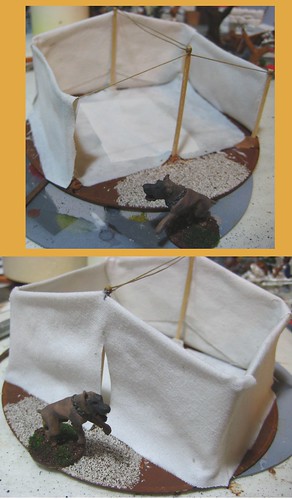
(click through to Flickr for a full-size image)
The fabric was cut twice as tall as it needed to be, and draped over the thread at the tops of each wall, with a generous layer of white glue on the inside of each piece. The walls were folded over, squeezed together and held whilst drying by clothspegs.
Two layers of shirt-weight cotton plus white glue makes for very solid walls!
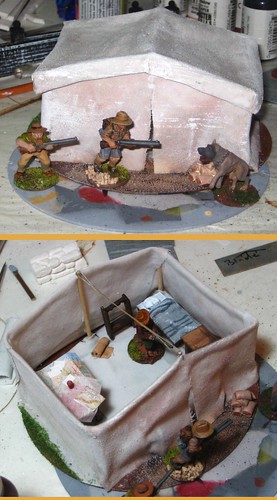
(click through to Flickr for a full-size image)
The removable roof was made by first draping a piece of plastic wrap over the tent walls, then carefully folding and pinning the piece of glue-soaked cotton into position. I folded the eves up and trimmed them after the first coat of glue was dry, and it fits well; between the glue and the folding it’s more than rigid enough to hold it’s shape.
There’s an extra piece of cotton to form the floor, and most of the interior furniture is made of offcuts of basswood and styrene, with putty for the blanket and pillow. The maps were found on the internet, shrunk to appropriate tiny sizes, and printed out. The red coffee mug in the centre of the large map is a scrap of round styrene.
I’ve still got a good sized piece of this shirt; eventually more of it will live again as smaller tents to accompany this one. Recycling — it doesn’t just involve a blue bin, you know. Not for wargamers, anyway!
“Fighting Tales!” Magazine Covers
Some graphics inspired by interwar pulp magazine covers. Done in Inkscape primarily, with some of the photos manipulated first in GIMP.
Continue reading “Fighting Tales!” Magazine Covers
Scenery: Cardboard 15mm Cargo Containers & Crates
More refugees from the old site; I still like the graphic work I did on these shipping containers & crates. I might eventually do some more. No promises, though. If you are looking for the signage, see the Sci-Fi Signage post.
Continue reading Scenery: Cardboard 15mm Cargo Containers & Crates
Full Thrust Datasheets & Shipbits
More useful reposts from the old website, this time for Ground Zero Games’ Full Thrust starship game: blank datacards & ship-bits for the regular, Kra’vak & Phalon ships. These are old-school GIF/JPG bitmaps; one of these days (when we wander back into playing FT regularly) I should sit down with Inkscape and bash out some clean new SVG shipbits and datacards to use. Until that day, these’ll do. Continue reading Full Thrust Datasheets & Shipbits
Stargrunt II Blank Datacards
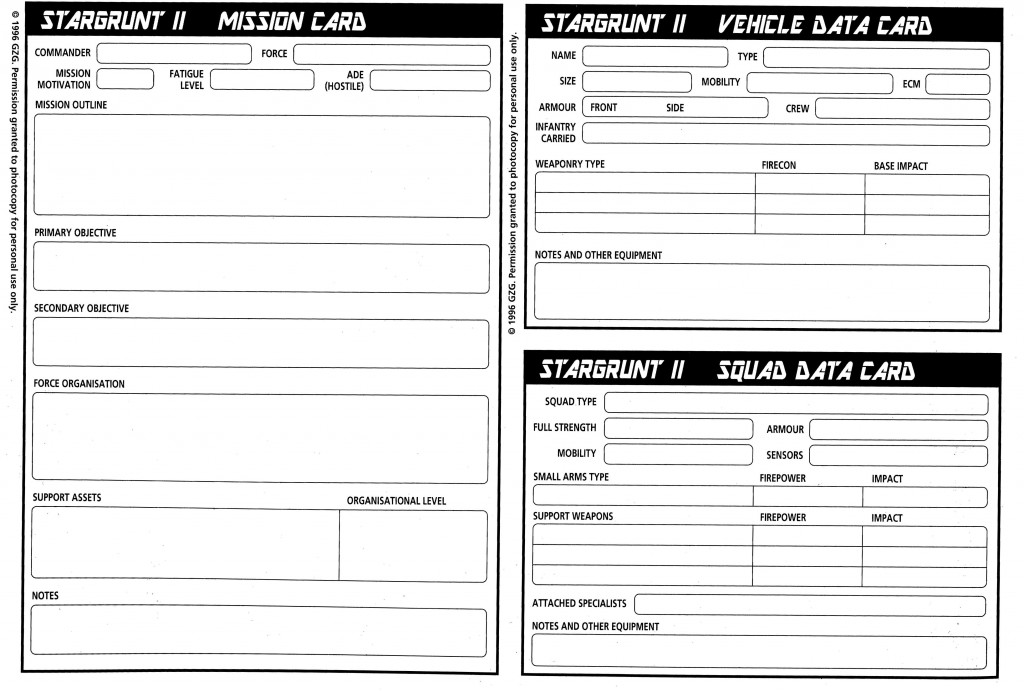
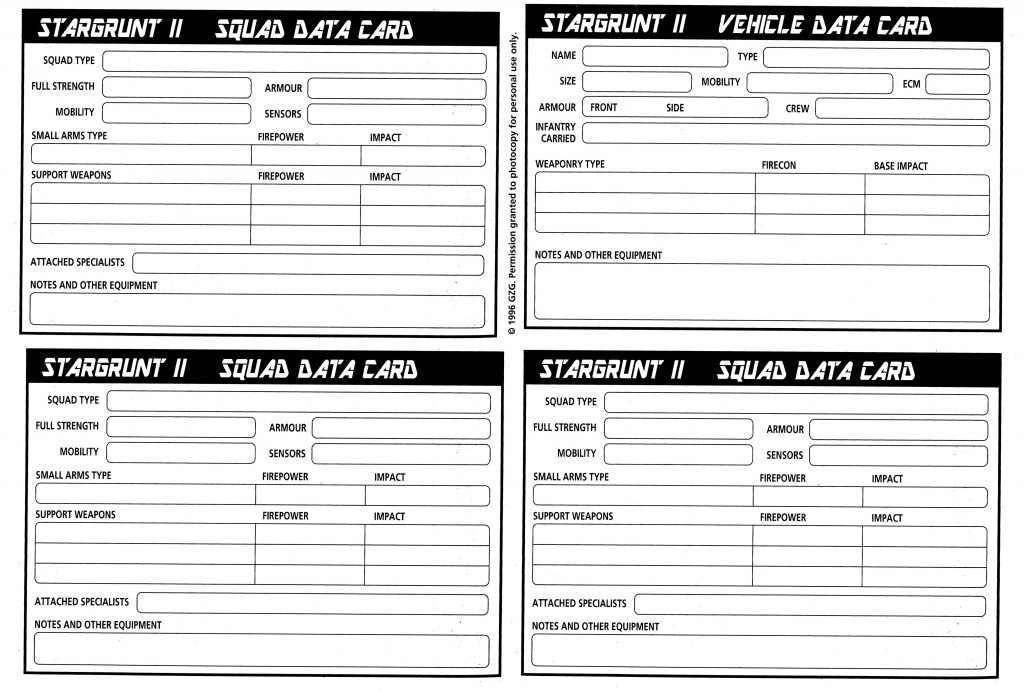
Another repost of useful stuff from the old site; this time it’s two decent quality scans of the Squad/Vehicle/Scenario sheet from the back of the Stargrunt II rulebook.
Sheet One is straight out of the SG2 book: one Scenario Card, one Squad Card, one Vehicle Card. Sheet Two is an edited version that looses the Scenario Card for two more Squad Cards. Click thumbnails below for full-size versions that should print cleanly.
NOTE that these cards are © Ground Zero Games; presented here with permission. Printing/copying for personal use only.
The Seagull
In 1933, according to Popular Mechanics, there was the Seagull, which “…skims water at seventy miles an hour.”
In 28mm resin, in the present day, we have this:
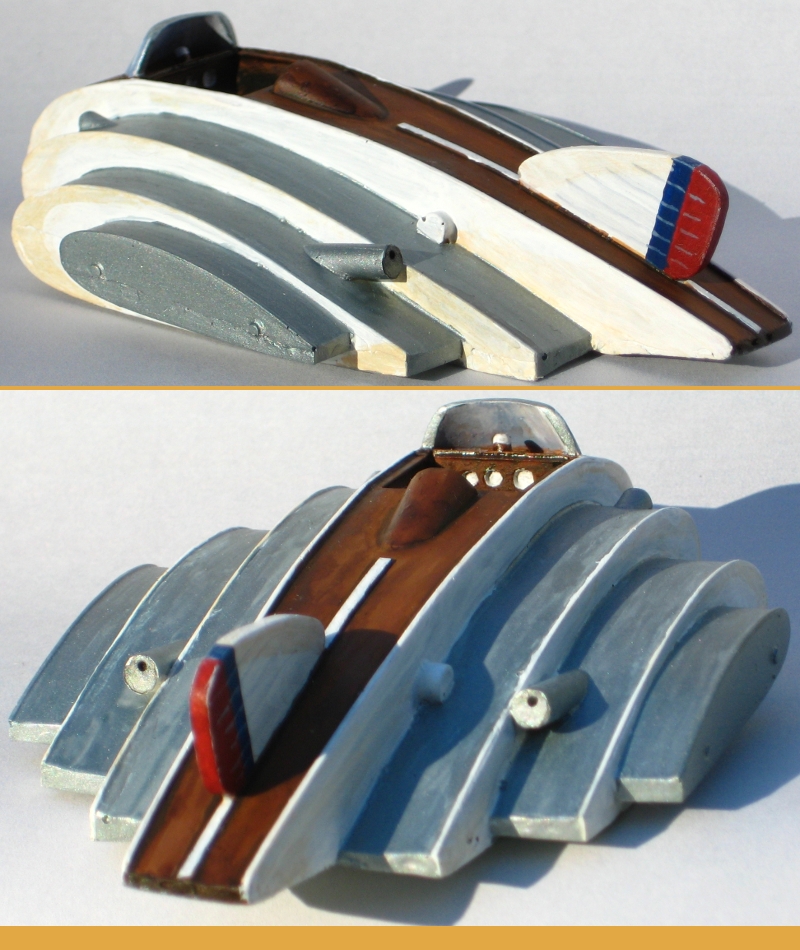
Painted and lightly modified back in 2009 by myself, produced by the eccentric and excellent Tobsen77 from Germany. The paintjob is inspired equally by classic wood-and-white yachts and the gleaming metal of The Spirit of Saint Louis and other 20s/30s projects.
It still hasn’t appeared in a game, actually. One of these days it will, possibly as the one-man escape craft of a dashing-but-dastardly Leader of the Evil Conspiracy. Can’t you just picture it zooming away from a dock, leaving hapless minions and frustrated pursuers equally behind?
(My take on the Seagull has previously appeared on Lead Adventure and elsewhere, but heck, it deserves another moment to itself.)
Trebuchet!
Apparently not many people have webpages featuring working model trebuchets. Except the old version of this webpage! Transplanted and spruced up; it’s been many years since I’ve built this one (and it’s since been misplaced in a move) but the photos and story are still good, and I’ll try and update the links. Enjoy! — Brian, 12 Jan 2011.
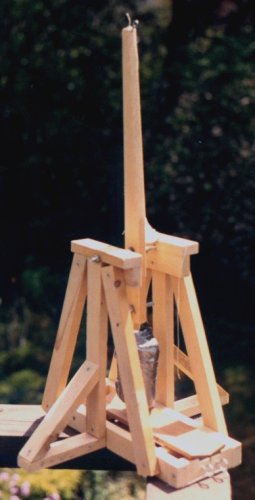
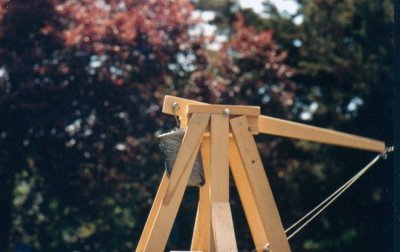
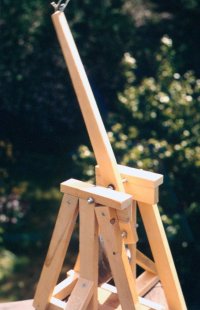
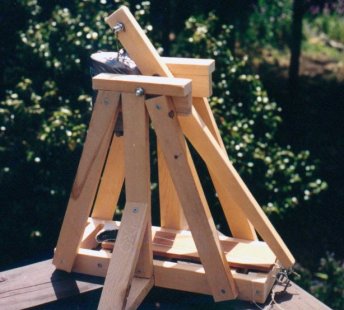
One slow weekend, I built myself a siege engine of the ancient mold and threw rocks at the neighbours…
Actually, it wasn’t as bad as that – the beast is only about 40cm tall to the top of the frame, and the biggest rocks it throws are only maybe 8cm long. The counterweight is 4 pounds of lead fishing weights.
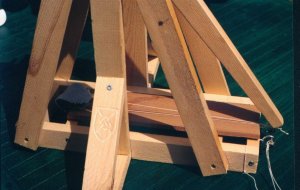
A trebuchet (tree-boo-shay) is a counterweight powered mechanical artillery piece, traditionally used for throwing huge rocks at castle walls or throwing dead horses over the walls. Mine is made entirely of 1×2 lumber, but the design is entirely traditional and historically accurate. The counterweight falls, pulling the far end of the arm up and over, which in turn propels the sling which actually contains the rock. The sling whips up and around, releasing when it comes over the top, sending the rock on its way. The trajectory can be changed by adjusting the sling’s release hook, on the end of the arm. The usual trajectory is fairly high and arcing, but a surprisingly flat, fast trajectory can also be achieved by careful adjustment of the hook.
Accuracy is quite good, providing you are slinging rocks of identical or similar weight. Firing the same rock, I landed 30 shots in the same 1.5m wide circular area. Range could also be quite long – firing a very small rock, one shot went over 25m, with the usual shot being around 10-15m.
The simple plans I used to build my treb used to be available on the Web from A Trebuchet Story (now sadly defunct, and possibly not in The Wayback Machine – Brian, 12 Jan 2011). These seem to be the only trebuchet plans actually available on the Web. There are loads more treb and engine site out there on the WWW – check out some of the following Trebuchet, Catapult, Siege Engine & Mechanical Artillery Links:
- Dan Becker’s Trebuchet Page is a great page with lots of photos and info on building a treb about the same size as mine. He’s also got a Toothpick Trebuchet page. (added 1 Feb 2010)
- Grey Company Trebuchet & Catapult pages: lots of information about cats, trebs, and other mechanical artillery engines, and a great Links section.
- Danish Medieval Centre: a giant trebuchet, great photos and lots of general medieval information as well.
- Hilarious article on the dead-horse & Mini -chucking treb in England: a must read!
- Castle Siegecraft and Defence: siege information, siege engines, photos.
- Codesmith’s Siege Engines Page: a group of nice diagrams & photos of a smallish trebuchet in action.
- Trebuchet.com ‘For people who like to HURL!’ Good links & information, and the Siege Engine webring.
Igor Award Recipient: Goes to my brother Corey, who acted as mad scientist’s assistant during most of the firing of this beast. (then bugged me about giving him credit until I invented the Igor Award!)
And finally, the photos – click for complete views, although not that much larger, I’m afraid.

